
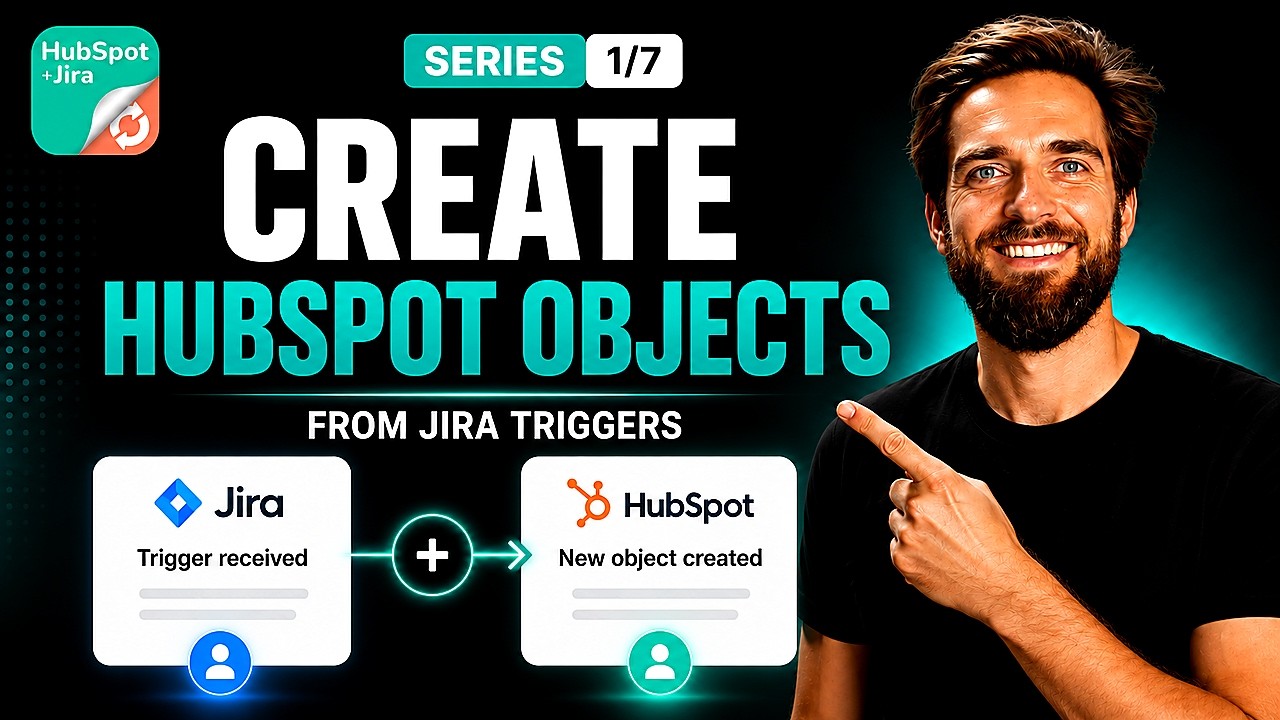
In this guide, we walk you through the “Create HubSpot Objects“ automation rule in HubSpot for Jira, which automatically generates a fresh HubSpot Contact, Company, Deal, or Ticket whenever a specific Jira event fires. By following our step-by-step setup instructions, you can eliminate manual data entry and ensure your customer-facing teams have instant visibility into engineering and support activities without switching tools.
This is Episode 1 of our HubSpot for Jira automation rules series, where we break down each of the seven available automation rules end-to-end so you can get the most out of your CRM and project tracker integration.
In our video, we cover exactly what this rule does, walk through a real-world use case, and demonstrate the complete two-part setup process in under four minutes:
What Does the Create HubSpot Objects Rule Do?
In plain English, when something happens in Jira, this rule automatically creates a brand new object inside HubSpot. That “something” in Jira could be a new work item being created, a status change, a label being added, or really any trigger that Jira’s automation engine supports. The new object in HubSpot can be a contact, a company, a deal, or a ticket – you choose which type gets created.
The key benefit here is the elimination of manual handoffs between your support, sales, and engineering teams. There is no copy-paste involved, no switching between tools to duplicate information, and no risk of data falling through the cracks. The moment a qualifying event occurs in Jira, HubSpot is updated automatically.
Real-World Use Case: Support Escalation Auto-Synced
Imagine your support team creates a Jira ticket for a customer escalation. Without automation, someone would need to manually log into HubSpot and create a corresponding ticket so that your customer-facing team is aware of the issue. This is slow, error-prone, and often simply doesn’t happen in fast-paced environments.
With the Create HubSpot Objects rule, a matching ticket can be created automatically in HubSpot the instant the Jira ticket is filed. Your customer success managers, account executives, and support leads see the escalation instantly without anyone copying information across tools. This ensures that every team has the context they need without leaving their preferred platform.
The Rule Name Decoded: Why “Create New” Matters
One important detail to understand is what this rule does not do. The keyword here is “create new.” This rule always creates a fresh object in HubSpot. It does not update an existing record, and it does not look for matches first. Every time the Jira trigger fires, a brand new HubSpot record is generated.
This distinction is critical for choosing the right automation rule for your workflow. If you need to find and update existing HubSpot records instead, you’ll want to look at the other rules in the series, such as “Find HubSpot Object and Link”, which we cover in Episode 2.
Two-Part Setup Process
Setting up the Create HubSpot Objects rule involves two distinct parts: first, configuring the rule inside the HubSpot for Jira app, and then connecting it through Jira’s global automation engine. Both parts are straightforward, and we walk through each step below.
Part 1: Setup Inside the HubSpot for Jira App
Start by heading to the HubSpot for Jira configuration and opening the automation screen. From there, follow these steps:
- Create a new automation rule by clicking the appropriate button on the automation screen.
- Name your rule descriptively – something like “Create HubSpot Contact from New Support Work Item.” This name is important because you will need to find and select it again during Part 2 of the setup.
- Select the direction – in this case, choose that this is a Jira-to-HubSpot automation.
- Select the action – choose “Create HubSpot Objects” from the available actions.
- Select the Jira space the rule should apply to, ensuring it only triggers for the relevant project or projects.
- Choose the HubSpot object type you want to create: Contact, Company, Deal, or Ticket.
- Set up your field mappings – this is where you decide which Jira fields populate which HubSpot properties. For example, the Jira reporter’s email might map to the contact’s email field. You can map as many fields as needed to ensure the new HubSpot record contains all the relevant information.
- Save the rule once all mappings are configured.
Part 2: Setup in Jira Global Automation
Now jump over to Jira global automation and create a new automation flow. This is where you define what Jira event will trigger the rule you just built:
- Pick your trigger – for example, “Work Item Created” or “Status Change,” depending on when you want the HubSpot object to be generated.
- Add an action – from the list of available actions, find “HubSpot CRM for Jira.”
- From the HubSpot CRM for Jira actions, choose “Create HubSpot Objects.”
- Select the specific rule you just built by the name you gave it in Part 1. This is why a descriptive name is so important – it makes identifying the correct rule quick and easy.
- Save and enable your automation, and you’re done.
Once both parts are complete, the automation is live. Every time your chosen Jira trigger fires, a fresh HubSpot record appears automatically.
Important Note About the Automations Experience
The setup process demonstrated in our video showcases the upcoming HubSpot for Jira Automations experience, which allows you to configure your saved automation rules directly in Jira Global Automations without using web request URLs. The automation logic, use cases, and overall setup process remain largely the same as in the current version of the app.
The primary difference is that the new experience simplifies configuration by eliminating the need to create and manage web request URLs. If you are using the current version of the app, some of the steps shown may look different and require web request URLs to achieve the same outcome. For guidance on setting up automations in the current version, refer to the official documentation provided by resolution Reichert Network Solutions GmbH.
Field Mappings: How Jira Fields Populate HubSpot Properties
The field mapping step in Part 1 deserves extra attention because it determines exactly what data flows from Jira into HubSpot. When you configure your mappings, you are essentially telling the automation which piece of information from the Jira work item should be written into which property on the new HubSpot object.
For instance, if you are creating a HubSpot contact from a Jira ticket, you might map the Jira reporter’s email address to the HubSpot contact’s email field. You could also map the work item summary to a HubSpot property to give your CRM team immediate context about the issue. The flexibility of these mappings means you can tailor the automation to your specific workflow requirements, ensuring that only the relevant data is transferred.
About HubSpot for Jira
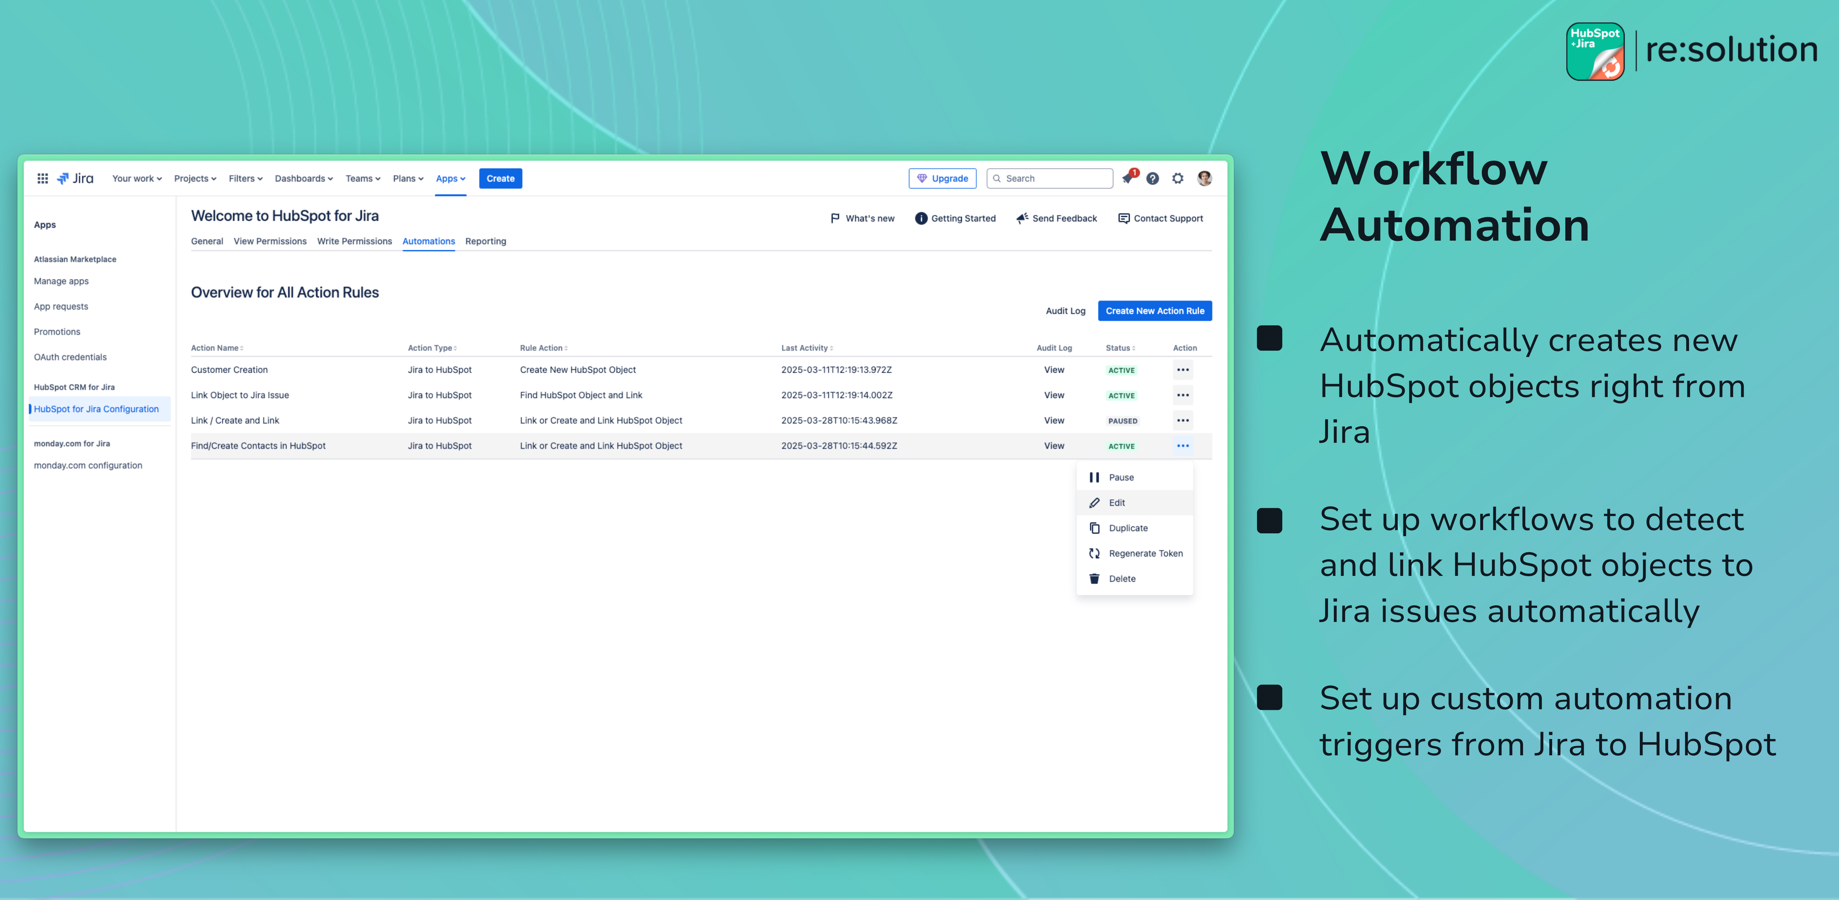
HubSpot for Jira is built by resolution Reichert Network Solutions GmbH, a Platinum Atlassian Marketplace Partner trusted by over 25,000 teams worldwide. The app keeps your CRM and your engineering tracker perfectly in sync by allowing you to link issues to HubSpot records, push data both ways, automate object creation, and give every team the context they need without leaving their tool.
You can install HubSpot for Jira from the Atlassian Marketplace to get started. For additional support, you can reach the team at support@resolution.de.
What’s Next in the Series
This article covered the first of seven automation rules available in HubSpot for Jira. The full series includes: Create HubSpot Objects (this episode), Find HubSpot Object and Link, Link or Create and Link, Find HubSpot Object and Unlink, Unlink All HubSpot Objects, Notify Linked HubSpot Objects, and Create New Work Item (HubSpot → Jira). Up next in Episode 2, we cover “Find HubSpot Object and Link”, which unlike this rule, searches for an existing HubSpot record before taking action.