


The “Link or Create and Link HubSpot Object“ rule in HubSpot for Jira is the most flexible automation rule in the series, intelligently searching for an existing HubSpot record and linking it to a Jira work item – or creating the record from scratch and linking it if none is found. In our guide, we break down exactly how to set up this dual-purpose rule so your team never has to manually decide whether a CRM record already exists before syncing it with Jira. We’ll also explore how to use HubSpot Data in Jira effectively, ensuring that you make the most of your HubSpot Data in Jira integration.
This is Episode 3 of our HubSpot for Jira automation rules series, and it covers the best-of-both-worlds rule that handles both known and unknown records gracefully in a single automated workflow.
This episode emphasizes the importance of using HubSpot Data in Jira to enhance your automation capabilities.
Watch our full walkthrough of the setup process and real-world use case in under four minutes:
What the Link or Create and Link Rule Does for HubSpot Data in Jira
When utilizing HubSpot Data in Jira, it’s crucial to understand how the integration works to maximize efficiency.
This approach allows teams to effectively manage HubSpot Data in Jira without unnecessary duplication.
Leveraging HubSpot Data in Jira helps streamline your workflow and ensures accurate data management.
At its core, this rule is essentially two rules in one. When something happens in Jira – such as a work item being created or a status change – the HubSpot for Jira app goes into HubSpot and searches for an existing object. That object can be a contact, company, deal, or ticket. If the object is found, the rule automatically links it to the corresponding Jira work item. But if the object doesn’t exist in HubSpot, the rule will go ahead and create it, then link it.
Using HubSpot Data in Jira can significantly improve how your sales team operates, especially during events.
Understanding HubSpot Data in Jira helps in making informed decisions based on accurate information.
Field mappings are critical for correctly managing HubSpot Data in Jira.
Efficiently utilizing HubSpot Data in Jira can lead to better sales outcomes and improved customer relationships.
Implementing HubSpot Data in Jira requires understanding both platforms well.
The rule name itself tells the whole story if you read it carefully. “Link” is the first attempt – if the object exists, link it. “Or Create and Link” is the fallback – if it doesn’t exist, create it, then link it. This makes it the ideal rule to reach for when you’re not sure whether a record will already be in HubSpot and you want the automation to handle both cases gracefully without breaking.
Real-World Use Case: Event Leads
Make sure your team is trained to work with HubSpot Data in Jira to avoid issues.
To bring this rule to life, imagine your sales team is running an event and leads come in through a Jira intake form. Some of those leads are already in HubSpot as contacts from past campaigns. Others are completely new and have never been entered into your CRM. Without this automation, someone on your team would need to manually check each lead against HubSpot, decide whether to create a new record or find an existing one, and then link it to the Jira work item. By effectively connecting HubSpot Data in Jira, teams can enhance collaboration across departments.
With the Link or Create and Link rule, you don’t have to think about it. Existing contacts get linked automatically. Brand new contacts get created and linked. Either way, every Jira work item ends up connected to the right HubSpot record. This is especially powerful for scenarios involving mixed data – where some records already exist in your CRM and others do not – which is incredibly common in lead management, sales operations, and marketing operations workflows. The integration of HubSpot Data in Jira ensures that all relevant information is at your fingertips.
Why Field Mappings Do Double Duty
One of the most important aspects of setting up this rule is understanding that the field mappings serve two purposes simultaneously. First, they tell the rule how to find an existing object in HubSpot. For example, you might match on email address to locate a contact that already exists. Second, those same mappings tell the rule what data to use to create the object if it isn’t found. This includes properties like name, phone number, or any other field you want populated on the new record.
This dual function is what makes the rule so efficient. You configure your mappings once, and they power both the search logic and the creation logic. It’s critical to set these up thoughtfully to ensure accurate matching and complete record creation when needed.
Two-Part Setup Process
Like the other rules in this series, the Link or Create and Link rule follows a two-part setup flow. The first part takes place inside the HubSpot for Jira app configuration, and the second part takes place inside Jira Global Automation.
Part 1: Setup Inside the HubSpot for Jira App
Start by opening the HubSpot for Jira configuration and navigating to the automation screen. Click to create a new automation rule and give it a descriptive name – something like “Link or Create HubSpot Contact from Event Lead.” Keep this name in mind, as you will need to reference it again in Part 2.
Next, select that this is a Jira to HubSpot automation. For the action, choose “Link or Create and Link HubSpot Object.” Then select the Jira space that the rule should apply to and choose the HubSpot object type – whether that’s a contact, company, deal, or ticket.
Now comes the most critical step: setting up your field mappings. As discussed above, these mappings define both the search criteria for finding existing records and the data used to populate new records. For example, you might map a Jira field containing an email address to the HubSpot contact email property for matching, and map additional Jira fields for name and phone number so that newly created contacts are fully populated. Once everything is configured, save the rule.
Part 2: Setup in Jira Global Automation
Now head over to Jira Global Automation and create a new automation flow. Pick your trigger – this could be a work item created event, a status change, or whatever fits your specific scenario. Add an action step and from the available actions list, find “HubSpot CRM for Jira.”
From the HubSpot CRM for Jira actions, choose “Link or Create and Link HubSpot Object.” Then select the rule you built in Part 1 by the name you gave it earlier. Save and enable your automation, and you now have a workflow that handles both existing and brand new HubSpot records automatically without any manual intervention.
When to Use This Rule Instead of Simpler Alternatives
The HubSpot for Jira automation series includes simpler rules like “Create New HubSpot Object” (which always creates a new record) and “Find HubSpot Object and Link” (which only links to existing records). The Link or Create and Link rule is the one to reach for when you genuinely don’t know whether a record will already exist in HubSpot. If you used the Create rule alone, you’d risk creating duplicate records for contacts that already exist. If you used the Find and Link rule alone, new leads would simply fail to link because there’s nothing to find.
This rule eliminates that dilemma entirely. It’s the safest and most flexible option for workflows where your data source includes a mix of new and existing records – which, in practice, is a very common scenario across sales, marketing, and support teams.
Important Note About the Automations Experience
The video showcases the upcoming HubSpot for Jira Automations experience, which allows you to configure saved automation rules directly in Jira Global Automations without using web request URLs. The automation logic, use cases, and overall setup process remain largely the same as in the current version of the app. The primary difference is that the new experience simplifies configuration by eliminating the need to create and manage web request URLs.
If you’re using the current version of the app, some of the steps shown may look different and require web request URLs to achieve the same outcome. For guidance on setting up automations in the current version, refer to the official documentation provided by resolution Reichert Network Solutions GmbH, a Platinum Atlassian Marketplace Partner that built and maintains HubSpot for Jira.
Resources and Next Steps
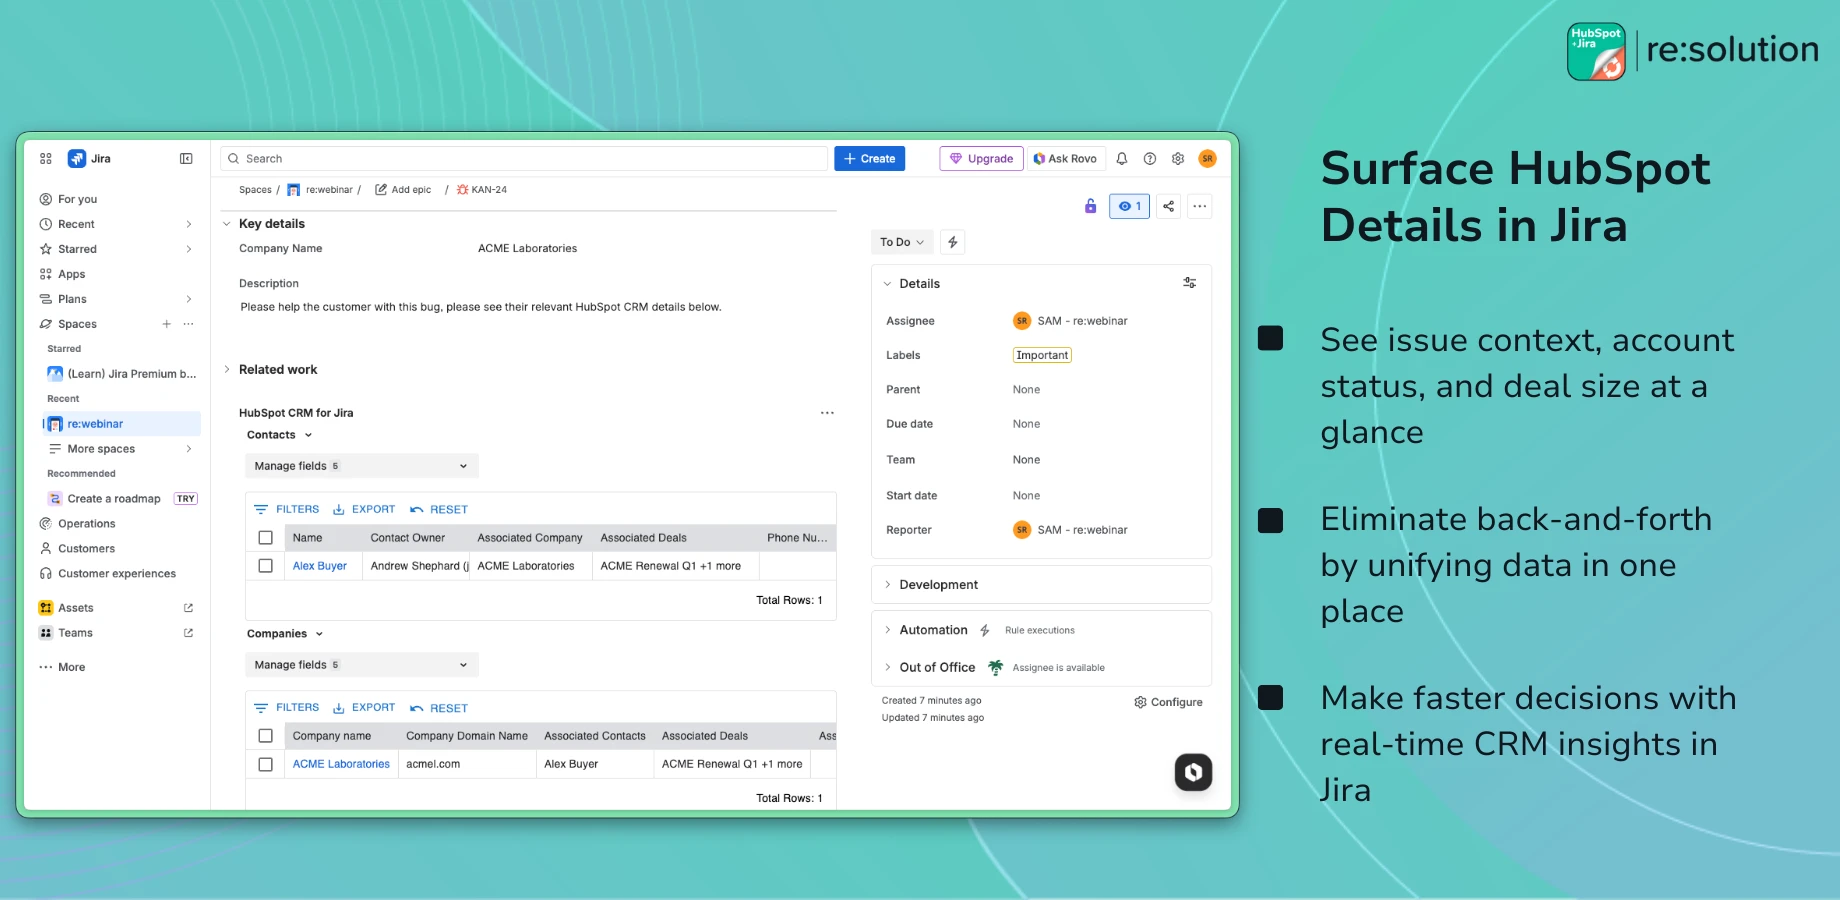
HubSpot for Jira keeps your CRM and your engineering tracker perfectly in sync – letting you link issues to HubSpot records, push data both ways, automate object creation, and give every team the context they need without leaving their tool. You can install the app from the Atlassian Marketplace to get started.
This rule is just one of seven automation rules covered in our full series. The complete lineup includes: Create New HubSpot Object, Find HubSpot Object and Link, Link or Create and Link (covered here), Find HubSpot Object and Unlink, Unlink All HubSpot Objects, Notify Linked HubSpot Objects, and Create New Work Item for HubSpot-to-Jira workflows. Up next in the series is the “Find HubSpot Object and Unlink” rule, which handles the reverse scenario of disconnecting linked records.
