
In this guide, we walk through Jira Cloud user management, covering how to invite users, create and manage groups, and control product access to keep licensing costs in check. By following these steps, you can build a clean, repeatable access model that simplifies onboarding, tightens security, and prevents unnecessary license spend.
This is Part 2 of our Jira essentials series, where we focus specifically on the elements that directly affect security and cost within your Atlassian Cloud environment.
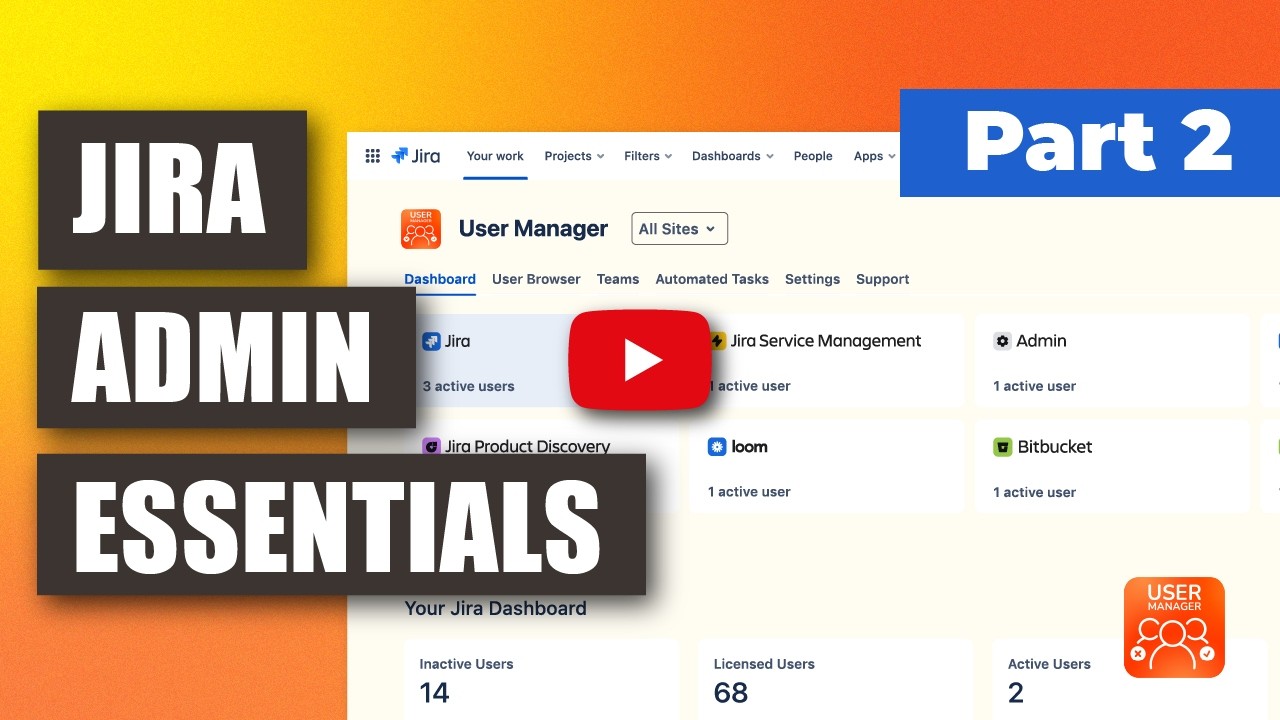
In our video, Marvin, a Technical Support Engineer (DevOps) at re:solution GmbH, walks through each of these concepts step by step in a live demo instance:
Where Jira Cloud User Management Actually Lives
One of the first things to understand about Jira Cloud is that user management does not happen inside Jira itself. Instead, it is handled through your Atlassian Organization at admin.atlassian.com. This is a centralized admin console where you manage users, groups, product access, and more across all your Atlassian Cloud products.
To get there from Jira, click the gear icon in the top-right corner of your Jira instance and select “User management.” You will be automatically forwarded to admin.atlassian.com, where you may need to select your matching site if you manage multiple sites. If you only manage one site, it will be selected automatically. Once inside, you will find the Directory section, which contains both your users and groups.
How to Add or Invite a New User
Adding a new user to your Jira Cloud instance is straightforward once you know where to look. Inside the Directory under user management, you will see a list of all existing users in your organization. To invite someone new, simply click the blue “Invite users” button.
From there, the process is simple:
- Enter the email address of the person you want to invite
- Choose which app access the user should receive right away (for example, Jira Software, Jira Service Management, or Confluence)
- Click next and confirm
That is all it takes. The invited user will receive an email and can begin accessing the products you have granted them access to. This initial access selection is important because it ties directly into licensing, which we cover in more detail below.
How Groups Work and Why They Matter
Groups are the foundation of how you assign permissions and manage access in Jira Cloud. Rather than configuring access for each individual user, you assign users to groups, and then grant those groups the appropriate permissions and product access. This approach makes onboarding, offboarding, and permission changes far more consistent and manageable.
Common Default Groups
When you first set up Jira Cloud, you will notice some default groups already in place. Two of the most common are:
- jira-administrators – grants admin-level access to Jira
- jira-software-users – grants standard Jira Software access
These groups are used throughout permission schemes and product access settings, so understanding their role is essential for any Jira admin.
Creating a Custom Group
In our video, we demonstrate how to create a custom group called “Developers.” This is useful when you want to manage a specific team’s permissions and product access as a unit. Here is how to do it:
- Navigate to Directory and then select “Groups”
- Click “Create group”
- Give the group a name (in our case, “Developers”) and optionally add a description
- Save the group
Once the group is created, you can immediately start adding members to it. Simply search for existing users within your instance and click “Add” to include them in the group. You can add multiple users, and from that point forward, any permissions or product access assigned to the “Developers” group will automatically apply to all its members.
This group will also be used later in permission schemes, which we will cover in a future part of this series. The key takeaway is that groups give you a clean, repeatable model for managing who can do what across your Atlassian products.
Product Access and Licensing Control
Product access, also referred to as application access, is where you control which users can access specific Atlassian products like Jira Software, Jira Service Management, or Confluence. This is critically important because it directly affects your licensing costs. Every user who has access to a product counts toward your license, so keeping access tight is essential for cost management.
Managing Product Access
To manage product access, open the app settings and navigate to Atlassian apps. Here you will see all the Atlassian products associated with your site. In our demonstration, we focus on Jira Service Management (JSM) and click “Manage app” to see which groups currently have access and what roles are assigned.
Each product allows you to define which groups grant access and what role those users receive within the product. For Jira Service Management specifically, the available roles include:
- Customer – external users who submit and track requests
- Stakeholder – users who can view but not directly work on issues
- User/Agent – full agent access to work on service desk tickets
- User access admin – users who can manage access for others
Assigning a Group to a Product
In our video, we add the newly created “Developers” group to Jira Service Management and assign the agent role. The process is simple: click “Add group,” search for your group, select the appropriate role, and click “Add.” From that moment on, every user who is a member of the “Developers” group will automatically receive agent access to Jira Service Management.
This is extremely powerful because it means you no longer need to manually configure product access for each individual. When a new team member joins and is added to the “Developers” group, they automatically get the correct product access. When someone leaves and is removed from the group, their access is revoked just as easily.
Why Tight Access Management Matters
If you do not manage product access carefully, several problems can arise that affect both your budget and security:
- License costs creep up – users who do not need access to a product still consume a license seat, increasing your monthly or annual bill
- Access becomes inconsistent – without a group-based approach, some users may have more access than they need while others lack what they require
- Onboarding and offboarding become manual work – without groups, every new hire or departure requires individual configuration across multiple products
By combining groups with product access rules, you establish a structured access model that scales with your organization. New users are simply added to the appropriate groups, and everything else follows automatically.
What Comes Next
In Part 3 of this series, we will move into space configuration, covering workflows, screens, work types, and permissions. That is where Jira truly becomes a powerful tool tailored to your team’s specific processes. The groups and access model we established in this part will play a direct role in how permissions are configured moving forward, so having a solid foundation here is critical for everything that follows.
