
If you’ve just been handed the role of Jira admin and feel overwhelmed by the sheer number of settings, schemes, and configurations, this guide breaks down the essential global settings you need to know to get oriented quickly. In our video, we walk you through the two types of Jira admins, the key areas of the global admin panel, and where to click when something breaks, so you can confidently manage your Jira instance from day one.
This is the first in a series of Jira essentials videos designed to give new admins a beginner-friendly overview of the platform without unnecessary complexity.
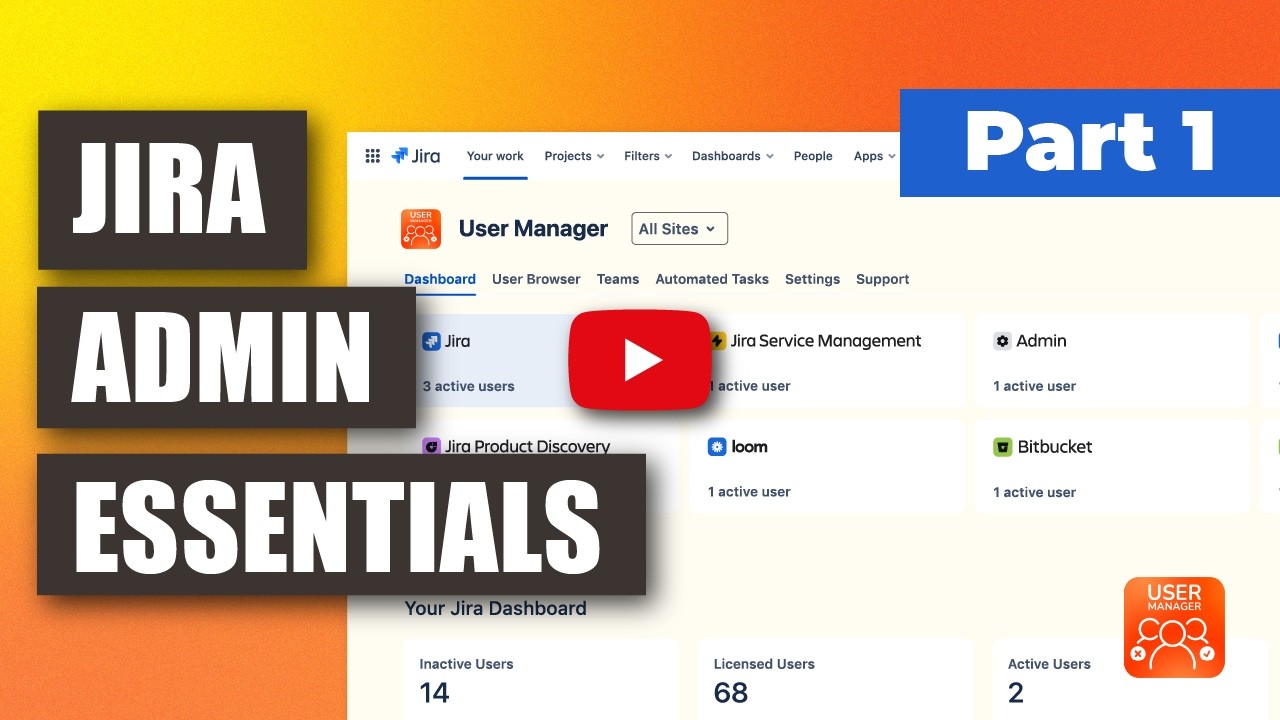
Watch our full walkthrough of Jira’s admin panel essentials in our video below:
The Two Types of Jira Admins (and Why It Matters)
Before diving into the settings themselves, it’s critical to understand that Jira has two distinct types of administrators, each with different levels of access and responsibility. Confusing the two is a common mistake new admins make, and understanding this distinction early will save you a lot of frustration down the road.
Site/System Admin
The Site or System Admin has control over the entire Jira platform. This includes global settings, user management, security configurations, and app installations. You access these settings by clicking the gear icon in the top-right corner of Jira and selecting “System.” Everything you see in this area applies platform-wide, meaning any changes you make here will affect all users and all projects across your entire Jira instance.
Project/Space Admin
The Project or Space Admin, on the other hand, has a much narrower scope. Their settings apply to one specific project or space only. This includes permissions, workflows, and work item types, but only for that particular project. In the video, Marvin demonstrates this by opening a support space, showing that the configuration options available there are limited to that single space’s look, feel, and permissions.
The key takeaway here is simple: the site admin controls the platform, while the space admin controls one space. In this article and video, we focus exclusively on the site admin and global settings. A future video in the series will cover project and space administration in detail.
Quick Tour: Jira Global Settings Highlights
Once you’re in the global administration area (accessed via the gear icon → System), you’ll find a range of configuration options. While many of these are perfectly fine left at their default values, knowing where they live and what they do is essential for any new admin. Let’s walk through the most important ones.
General Configuration
The General Configuration section is your starting point in the global admin area. Here you can adjust foundational settings that affect how your Jira instance operates at a base level. Key options include:
- The base URL of your Jira instance
- The template used for outgoing email notifications
- The default user time zone
- The default language for the platform
As demonstrated in the video, Jira comes with several languages installed by Atlassian by default, and you can change the default language based on the needs of your user base. This is particularly useful for international teams or organizations that operate in a language other than English.
Look and Feel (Branding)
The Look and Feel settings are where you can customize the visual presentation of your Jira instance. This section allows you to change:
- Navigation colors
- Date and time formats
- Your instance’s logo or icon
This is particularly useful for branding purposes. If your organization wants Jira to reflect company colors or display a corporate logo, this is where you make those changes. It’s a small touch, but it helps users feel like the tool is tailored to their organization rather than a generic out-of-the-box experience.
Default User Preferences
The Default User Preferences section allows you to set sensible defaults for users who haven’t yet customized their own personal settings. This is important because when a new user logs into Jira for the first time, they’ll inherit whatever defaults you’ve configured here. Options you can control include:
- The outgoing email format (HTML or plain text)
- The number of work items displayed per page
- Other default UI behaviors
Setting these defaults thoughtfully means fewer support requests from new users who might otherwise be confused by the default experience. It’s a proactive step that can significantly improve the onboarding experience for your team.
Default Dashboard
If you’re already familiar with Jira dashboards, you might skip this section, but if you’re new to the platform, the Default Dashboard is worth understanding. Every user in Jira can build their own personalized dashboard, but there’s also a default dashboard that serves as the starting point for users who haven’t created one yet.
In the global settings, you can configure the look and layout of this default dashboard. This is a great way to ensure that first-time users see relevant information, such as key project updates, assigned issues, or activity streams—right when they log in.
Announcement Banner
One of the most practical tools in the global admin settings is the Announcement Banner. This feature allows you to display an instance-wide message to all users across your Jira platform. Common use cases include:
- Maintenance notices and scheduled downtime
- Outage notifications
- Policy reminders or important updates
In the video, Marvin demonstrates creating a banner by entering a text message, selecting a banner color, and choosing whether users can dismiss the banner or whether it remains persistent. You can also decide if the banner should be public. Once you click “Publish,” the banner appears at the top of the Jira interface for all users. If you’ve enabled the dismiss option, users can click the X to close the banner on their end.
This is a simple but powerful communication tool that every Jira admin should know about, especially during planned maintenance windows or when rolling out changes to the platform.
Why Knowing These Settings Matters
As Marvin points out in the video, most of these global settings are perfectly fine left at their defaults. You don’t need to tweak everything on day one. However, as a new Jira admin, simply knowing where these controls live is invaluable. It saves time and reduces panic when situations arise, such as:
- Users complaining that “Jira looks weird“, you’ll know to check the Look and Feel settings
- Needing to announce a maintenance window, you’ll head straight to the Announcement Banner
- The default experience needing cleanup for new users, you’ll adjust Default User Preferences and the Default Dashboard
The areas you’ll likely interact with most frequently as your admin journey progresses are user management and project or space configuration. These are the settings that directly impact day-to-day operations, licensing, and team access.
What’s Coming Next
This video is the first in our Jira essentials series. In part two, we will tackle user management, the settings that impact single sign-on (SSO) and licensing. These are critical areas for any Jira admin, as they directly affect who can access your instance and how your licensing costs are managed. Make sure to follow along with the series to build a comprehensive understanding of Jira administration from the ground up.
