
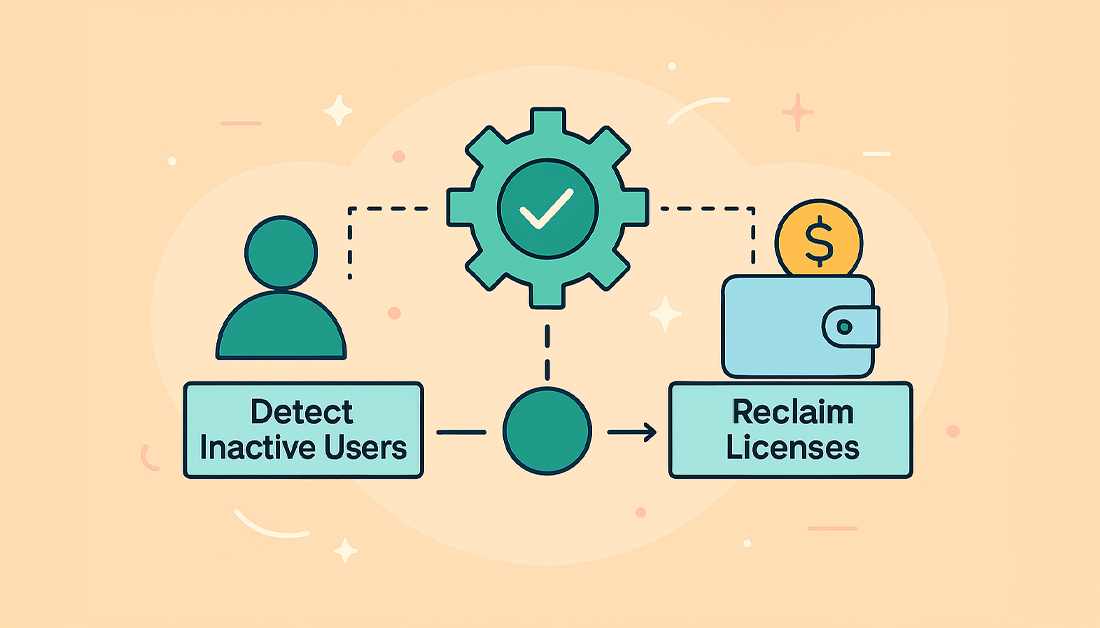
Automated license optimization for Jira is simply about using a tool to automatically spot and disable inactive user accounts. This way, you only pay for the licenses people are actually using. It’s a straightforward strategy to stop budget from leaking into dormant accounts and to avoid being forced into more expensive license tiers when you don’t really need them.
Why Unused Jira Licenses Are Costing You More Than You Think
Many organizations just chalk up Jira licenses as a fixed cost of doing business. But if you take a closer look, you’ll likely find a significant and completely avoidable expense hiding in plain sight. This financial drain is caused by “license bloat”—a slow, steady buildup of dormant user accounts that you’re still paying for, month after month. This isn’t just a rounding error in the IT budget; it can be a substantial and continuous waste.
The Real Financial Impact
Every inactive user tied to a paid license is a direct hit to your bottom line. It’s easy to underestimate the scale of the problem.
Imagine a company with 500 Jira licenses. If just 15% of those users haven’t logged in for over 90 days, that’s 75 licenses providing zero value. These dormant accounts quietly accumulate as teams shift, projects end, or employees move on.
This waste becomes especially painful when your active user count inches you toward a higher, more expensive license tier. You could be forced to upgrade and pay for hundreds of extra seats, all because of inactive accounts that should have been dealt with ages ago. This is where proactive, automated license optimization for Jira stops being a “nice-to-have” and becomes a core financial strategy.
The real issue is that you’re paying for potential access instead of actual usage. An automated system flips this on its head, ensuring your spending is directly tied to active engagement. It turns a variable, hard-to-predict cost into a manageable and optimized one.
A yearly manual audit just doesn’t cut it anymore. It’s a reactive, time-consuming task that can’t keep up with the constant churn of user activity. The table below shows just how different the two approaches are.
| Aspect | Manual Management | Automated Optimization |
|---|---|---|
| Effort | High; requires periodic, time-consuming manual audits. | Low; “set it and forget it” after initial configuration. |
| Frequency | Infrequent (quarterly or annually), leaving gaps for waste. | Continuous; runs on a schedule (e.g., daily or weekly). |
| Accuracy | Prone to human error and outdated information. | Highly accurate, based on real-time last-login data. |
| Cost Savings | Minimal and delayed; only captures savings after the audit. | Significant and immediate; prevents costs from accumulating. |
| Scalability | Becomes increasingly unmanageable as user count grows. | Easily scales with the organization without extra admin work. |
As you can see, automation isn’t just about convenience; it’s about building a more efficient and financially sound process from the ground up.
Beyond Simple Cleanup to Proactive Savings
True optimization requires a continuous, hands-off approach. The business case is pretty clear. Companies that adopt proper license management, especially with automated tracking and deactivation, have reported savings of 30-40% on their Atlassian licensing costs. You can find more details on how companies achieve these impressive results through Atlassian cost optimization.
This isn’t just about a one-time cost cut. It’s about building a sustainable system that frees up your budget for tools and resources that actually drive your business forward. By implementing an automated solution, you can transform license management from a tedious administrative chore into a strategic, cost-saving asset.
Preparing for Automated License Management

So, you’re ready to jump into automated license optimization for Jira. Good call. Before you start building rules, though, a little prep work is in order. Think of it like building a house—you wouldn’t start framing the walls without pouring a solid foundation first. A bit of initial effort now will save you from major administrative headaches later on.
First things first, you’ll need to install the User Deactivator app from the Atlassian Marketplace. This is pretty straightforward, but it’s a job for someone with the keys to the kingdom. Make sure whoever is handling it has full Jira Administrator Global Permissions. You’ll need those same permissions to configure the system-wide deactivation rules later.
Even before you click “install,” I recommend doing a quick health check of your user base. It’s a proactive step that helps you understand the landscape you’re about to automate and sidesteps a lot of common setup issues I’ve seen over the years.
Your Pre-Installation Audit Checklist
A few minutes spent auditing now can genuinely save you hours of troubleshooting. Here’s my go-to checklist for a clean start:
- Know Your Numbers: What’s your current license count? Get the exact number. This is your baseline, the number you’ll use to measure just how much money you’re saving.
- Tidy Up Your User Groups: Is your group structure a mess? Now’s the time to clean it up. Consolidate redundant groups and make sure they actually reflect the roles in your organization. This is absolutely critical for targeting your automation rules effectively.
- Tag Your Service Accounts: Make a list of all your non-human accounts—the ones used for APIs, integrations, and other scripts. You’ll want to whitelist these later so they don’t get accidentally deactivated.
This quick cleanup gives you a clear, organized view of your user environment. It means that when you start building your rules, you’re working with clean data from day one.
Think of this as tidying up your workshop before a big project. You organize your tools (user groups) and clear out the junk (obsolete accounts). It just makes the real work that much more efficient and precise.
Understanding How the App Fits In
Once you’ve installed it, the User Deactivator app slots right into your Jira administration panel. It doesn’t live in some separate, disconnected silo; it becomes a natural part of your admin toolkit. This tight integration is what allows it to read user data, like last login dates, and then take action by changing user statuses or group memberships.
This is exactly why that pre-audit of your user groups is so important. Let’s say you want a rule that deactivates inactive users but never touches anyone in your “client-guest” group. For that to work, you need that group to be clearly defined and accurately populated before you flip the switch on automation.
Your goal here is simple: establish a clear baseline. With a clean user directory and a firm handle on your current license situation, you’re perfectly set up to build smart, effective rules for automated license optimization for Jira. This foundational work ensures your automation is both powerful and precise, saving you money without disrupting anyone’s workflow.
Alright, with the prep work out of the way, it’s time to dive in and build your first rule for automated license optimization for Jira. This is where you’ll see the User Deactivator app really shine. We’re moving past the theory and putting together a practical, real-world rule that will start saving you money right away.
Let’s start with a classic scenario I see all the time. You want to automatically deactivate users who haven’t logged in for the last 90 days. Simple enough. But—and this is a big but—you absolutely cannot touch certain accounts, like external contractors or critical admin users. Messing that up could cause some serious disruption. This makes it the perfect first rule to build.
This diagram gives you a bird’s-eye view of how the system operates. It starts with discovering licenses, moves on to analyzing usage, and finishes with the automated optimization we’re about to set up.
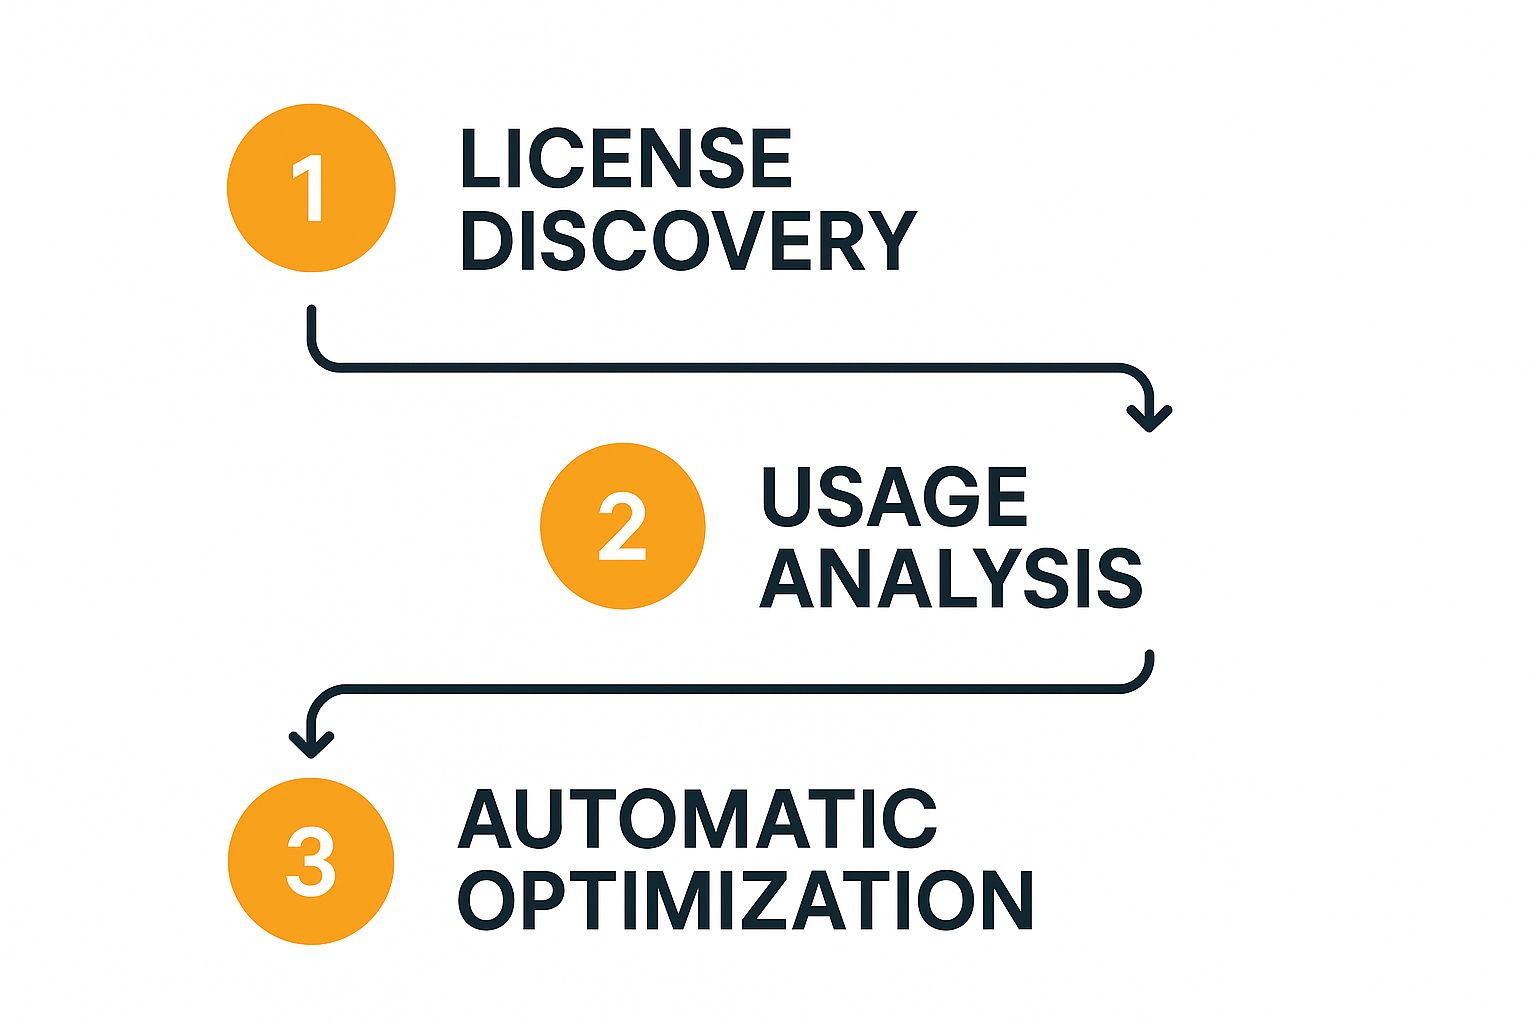
As you can see, optimization is the final step that delivers all the value, but it relies on a logical sequence of discovery and analysis first.
Defining Your Inactivity Threshold
The first decision you need to make is how long someone has to be inactive before they’re flagged. For this walkthrough, we’ll go with 90 days. From my experience, this is a great, conservative starting point for most companies. It’s a long enough window that you won’t accidentally catch people on a long vacation or temporarily assigned to a different project.
Jump into the User Deactivator configuration, and you’ll spot a field for “Days since last login.” Just type “90” in there. That’s it. You’ve just told the app to only target users who have been completely radio silent for at least three months.
Don’t worry, this isn’t set in stone. You can always come back and tweak it. I’ve worked with fast-moving tech companies that are comfortable with a 60 or even 30-day threshold. On the flip side, more cautious organizations might prefer a 120-day rule. Starting with 90 days is the sweet spot between proactive savings and operational safety.
Targeting and Excluding User Groups
Next up, you need to tell the rule which users to look at. This is where all that group cleanup you did earlier really pays off. You can select specific Jira user groups to be included in the deactivation sweep. For example, you could point it directly at your main “jira-software-users” group.
What’s even more critical, though, is specifying which groups to exclude. In our scenario, we have two groups that we need to protect at all costs:
- “external-contractors”: Their login patterns can be sporadic, often tied to project milestones. We definitely don’t want to deactivate them automatically.
- “jira-service-admins”: These are your lifeline accounts. They should never be deactivated automatically. Period.
By adding these to the exclusion list, you’re building a crucial safety net. The rule will scan everyone but will intelligently skip over anyone in these protected groups, no matter how long it’s been since they last logged in.
Pro Tip: I always recommend creating a dedicated group for service accounts, API users, and any other non-human accounts. Make it a habit to add this group to the exclusion list on every single deactivation rule you build. It’s the single best way to prevent an accidental outage of a critical integration.
Configuring Notifications and Scheduling
So, what happens when the rule finds a user who meets the criteria? You don’t want to just silently pull the plug. It’s a best practice to configure notifications to keep everyone in the loop. A simple warning email sent to the user a few days before their account is deactivated can work wonders. It gives them a chance to log in if they still need access, saving you from a pile of unnecessary help desk tickets.
The final piece of this automation puzzle is the schedule. The real power here is consistency. You can set your deactivation rule to run on a recurring schedule, like every night at 2 AM. This “set it and forget it” approach ensures your Jira instance is constantly being optimized without you having to lift a finger. For a more strategic look at this whole process, check out this excellent Jira license cost optimization framework.
With these settings dialed in, you’ve officially built a smart, safe, and fully automated rule. It will now work tirelessly in the background, keeping your Jira license costs in check.
Unlocking Advanced Dynamic License Allocation

So, you’ve built your first basic deactivation rule. That’s a great start. But now, let’s get into the really powerful stuff. This is where automated license optimization for Jira shifts from a simple cleanup task to a dynamic, real-time management strategy.
The real goal here is to create what I call a “floating license” model. Think of it as a pool of licenses that are automatically reclaimed from idle users and handed to active ones almost instantly. Instead of just trimming inactive accounts every quarter, you’re managing your user pool daily, keeping your license count as lean and efficient as possible. This ensures you’re squeezing every bit of value out of the licenses you pay for.
Implementing a Floating License Model
The floating license concept is both simple and incredibly effective. Why should a license sit tied to an account for someone who only logs in once a month? With a more advanced rule, you can snatch that license back when they’re inactive and give it to someone who needs it right now.
This model is a game-changer for large organizations with tons of users and fluctuating activity levels. In my experience, this is where automated license optimization for Jira becomes an essential cost-saving measure. It’s about shifting your mindset.
You stop managing a fixed set of assigned licenses and start managing a flexible pool of available licenses. This active management model is the key to preventing license waste before it even happens.
Some apps on the Atlassian Marketplace, like the License Optimizer for Jira app, are built around this idea. They constantly monitor user inactivity and can automatically revoke a license, freeing it up for others without forcing you to upgrade to a more expensive license tier.
Configuring for Instant Reclamation
To make this happen, you’ll need to get a bit more aggressive with your inactivity timeouts. While a 90-day rule is perfect for long-term, set-it-and-forget-it cleanup, a true floating license model needs a much shorter fuse.
Try setting up a rule with a tighter inactivity window—something like 7 or even 14 days. Yes, it’s aggressive, but it’s ideal for reclaiming licenses from users who only pop into Jira sporadically. When they do need to log back in, they can simply request access, and an admin can grant it in seconds. This approach guarantees that licenses stay in the hands of people actively working in the system. Our in-depth guide on deactivating inactive users (https://www.resolution.de/post/guide-deactivating-inactive-users/) explores setting these kinds of policies in more detail.
Protecting Critical Accounts with Whitelisting
Now, an aggressive reclamation strategy is only as good as its safeguards. You can’t just deactivate everyone. This is where whitelisting becomes absolutely non-negotiable. You must protect certain accounts from any automated deactivation, no matter how inactive they appear.
Think of your whitelist as a VIP list. It should always include:
- Service Accounts: These are the lifeblood of your integrations and APIs. Deactivating one could break a critical connection to another tool, causing chaos you don’t want to deal with.
- Executive Accounts: Your C-suite might not live in Jira every day, but their access must be instant and uninterrupted when they need it. No exceptions.
- Key Administrators: Your own Jira admin accounts and those of your core IT support team should be completely untouchable.
By carefully pairing short inactivity timeouts with a robust whitelist of protected accounts, you build a truly sophisticated system for automated license optimization for Jira. This dynamic approach keeps your license usage incredibly efficient, ensuring your budget is spent on active engagement, not dormant accounts.
How to Measure and Refine Your Automation Strategy
Getting your automation rules up and running is a fantastic first step, but the job isn’t quite done. A truly effective strategy for automated license optimization for Jira is a living process. It’s a constant cycle of doing, checking, and tweaking. Think of it less like flipping a switch and more like steering a ship—you have to keep an eye on your heading and make small corrections to stay on the best course.
The secret to steering that ship? Data. You absolutely need to know what your automation is actually doing in the real world. This is where the User Deactivator app’s detailed audit logs and reports become your best friend. These logs are your single source of truth, showing you exactly who was deactivated, when it happened, and which rule made the call.
Interpreting Your Automation Data
Once you’ve got the reports in hand, the real work—and the real fun—begins. Your mission is to look at the data and figure out the story it’s telling. Are your rules performing as you predicted? Are there any surprises?
For instance, you might pull up a report and see that your 90-day inactivity rule has been busy deactivating a bunch of users from the marketing department. That isn’t necessarily a bad thing, but it’s a data point that deserves a closer look. It might turn out that the marketing team uses Jira for occasional campaign updates, not daily tasks like your engineers. In that case, a more lenient 120-day rule for that group might make more sense.
The data doesn’t just tell you what happened; it tells you why. This insight is what transforms your strategy from a blunt instrument into a precision tool, allowing you to fine-tune your approach for different teams and roles within your organization.
This kind of regular analysis is a cornerstone of effective user management. If you want to dive deeper into the broader principles, we cover them in our detailed guide on automating user management in Jira.
Establishing a Quarterly Review Cycle
To keep this process from falling through the cracks, I can’t recommend a quarterly review cycle enough. Booking this dedicated time on your calendar ensures you don’t just “set and forget” your rules. A structured review helps you stay agile and adapt to the natural shifts in your organization, like new projects kicking off, teams restructuring, or changes in how different departments use their tools.
Here’s a simple but powerful framework you can use for your quarterly check-in:
- Dive into the Audit Logs: Pull the deactivation reports for the last 90 days. Hunt for patterns, look for any deactivations that seem odd, and check if any rules are unexpectedly quiet.
- Track User Reactivation Requests: Is your help desk getting flooded with tickets from users who were deactivated? This is a crystal-clear signal that one of your rules might be a bit too aggressive.
- Check Your Atlassian Bill: This is the ultimate bottom line. Compare your current license count and costs to the previous quarter. You should see a clear downward trend or at least stabilization, confirming that your strategy is delivering real financial savings.
This consistent review process is what keeps your automated license optimization for Jira perfectly aligned with your business goals. It empowers you to make smart, data-driven decisions that maximize cost savings while keeping disruption to your teams at a bare minimum. Over time, your automation just gets smarter and more effective.
Of course, handing over user management to an automated tool can feel like a leap of faith. Whenever we talk about automating license optimization, a few key questions always come up. It makes sense—when you’re dealing with something as critical as user access, you want to be absolutely certain you’ve got it right.
Let’s walk through some of the most common concerns we hear from Jira admins.
The biggest worry is almost always the same: “What if the app accidentally deactivates an important user?” It’s a fair question, and one we’ve thought about a lot. The last thing you want is your CEO or a lead developer getting locked out.
The answer lies in building smart, targeted rules. A well-configured system doesn’t just go on a deactivation spree. Instead, you create precise rules that include an iron-clad safety net: exclusion lists.
For example, you can easily set up a rule to protect your jira-administrators, service-accounts, or even C-level executive groups. This ensures they are never touched by automation, no matter how often (or not) they log in. You get full, granular control to minimize any risk.
How Secure Is the Deactivation Process?
Another question that pops up frequently is about security. When an app handles user deactivation, what’s actually happening behind the scenes? Does it delete the user and wipe their history?
Absolutely not.
The User Deactivator app doesn’t delete users. It simply deactivates them, which is a native function in Jira. This means the user can no longer log in, which frees up their license. But—and this is the important part—all of their historical data remains perfectly intact. Every comment, every issue they created, and every assignment is preserved.
It’s a completely non-destructive process.
The goal here is license reclamation, not data deletion. A user’s digital footprint within Jira is preserved, ensuring your project histories and audit trails stay complete and accurate.
Handling User Reactivation Requests
So, what happens when a deactivated user needs to get back into Jira? Maybe someone from another department is pulled onto a new project, or a contractor returns for another engagement.
Thankfully, the process is quick and straightforward. An admin can reactivate a user’s account in just a few clicks right from the Jira administration panel. Their access is restored immediately, with all their previous group memberships and permissions exactly as they were.
To make things even smoother, we recommend setting up a simple workflow. A user can submit a ticket through your IT service desk, and an admin can approve and reactivate the account. This keeps the process secure and provides a clear audit trail for who requested access and when.
If you want to build a more robust framework around this, exploring software license management best practices can give you some great ideas for formalizing these kinds of processes.
Ready to stop overpaying for unused Jira licenses? The resolution Reichert Network Solutions User Deactivator app automates the entire process, so you only pay for what you use. See how much you can save and explore a smarter way to manage your Atlassian environment at resolution.de.
