
Trying to manage Atlassian accounts one by one is a surefire way to create security holes and burn through valuable admin time. Atlassian centralized user management brings control over your entire Atlassian world—Jira, Confluence, you name it—into one command center. This is done using Atlassian Access, which acts as the bridge between your Atlassian products and an external identity provider, unifying security and user provisioning.
Why You Can’t Afford to Ignore Centralized User Management
If you’re overseeing a growing Atlassian setup, you’ve probably felt the sting of decentralized accounts. It’s a constant battle: manually deprovisioning users who’ve left, wrestling with inconsistent permissions between Jira and Confluence, and the endless drain of handling individual access requests.
This isn’t just an inconvenience; it’s a real threat to your productivity and security.
Think about what happens when an employee leaves the company. Without a central system, an admin has to manually track down and deactivate their access in every single Atlassian product. Miss just one, and you’ve left a door wide open.
The Hidden Costs of Doing It Manually
The problems go way beyond just offboarding. Inconsistent permissions can easily lead to a user having the right access in Jira but dangerously permissive rights in Confluence, putting sensitive documents at risk. Onboarding a new team becomes a tedious, repetitive cycle of creating multiple accounts and setting permissions, slowing down how quickly they can actually start contributing.
These manual chores pile up. It’s not uncommon for IT teams to lose hours every single week on routine user tasks instead of focusing on work that actually moves the business forward.
To give you a clearer picture, let’s break down the two approaches.
Decentralized vs Centralized Atlassian User Management
| Aspect | Decentralized Management (Manual) | Centralized Management (Atlassian Access) |
|---|---|---|
| Onboarding | Admin manually creates accounts in Jira, Confluence, etc. Prone to errors and delays. | User is created once in the IdP (Okta, Azure AD) and automatically provisioned with the right access. |
| Offboarding | Admin must find and deactivate accounts in every product. High risk of missing an account. | Deactivating the user in the IdP automatically revokes all Atlassian access instantly. |
| Permissions | Managed per-product. Easy for permissions to become inconsistent and create security gaps. | Permissions and group memberships are synced from the IdP, ensuring consistency across all tools. |
| Security Audits | A nightmare. Involves manually checking user lists in each application. | A single source of truth. Auditing is as simple as checking the IdP user directory. |
| Admin Effort | High and continuous. A constant stream of manual, repetitive tasks. | Low. Set it up once and let automation handle the day-to-day lifecycle management. |
This table really highlights the shift from a reactive, high-effort model to a proactive, automated one.
Centralizing user management isn’t just a nice-to-have for admins. It’s about building a secure, compliant, and scalable framework that helps your organization grow instead of holding it back.
By unifying control, you get rid of these dangerous blind spots. In fact, companies that adopt Atlassian Access often report a 40% reduction in administrative overhead tied to user management within the first year. You can get more details on these efficiency gains on the official Atlassian Access page.
Shifting from Reactive to Proactive Control
A centralized model moves your team from constantly putting out fires to strategically architecting your user environment. It’s the foundation for true automation, where the user lifecycle is tied directly to your source of truth, like Azure AD or Okta.
When an employee’s status changes in your identity provider, their Atlassian access reflects that change automatically. To take this even further, you can check out guides on automating the deactivation of Jira users to keep your licenses clean and your security tight. This is the real “why” behind centralization—it turns a chaotic, manual process into a secure, automated system you can trust.
Connecting Your Identity Provider to Atlassian Access
This is where the rubber meets the road. Integrating your Identity Provider (IdP) with Atlassian Access is the foundational step that makes a centralized user management strategy actually work. It’s how you establish that single source of truth for every user account, permission set, and security policy. Think of it as the technical handshake that enables everything else.
The heart of this connection is SAML (Security Assertion Markup Language) single sign-on (SSO). In simple terms, SAML is a secure protocol that lets your IdP—like Azure AD or Okta—vouch for a user. It tells Atlassian products, “Hey, I’ve authenticated this person, they are who they say they are, and here are their details.” This completely removes the need for separate Jira and Confluence passwords, which is a huge win for both user experience and security.

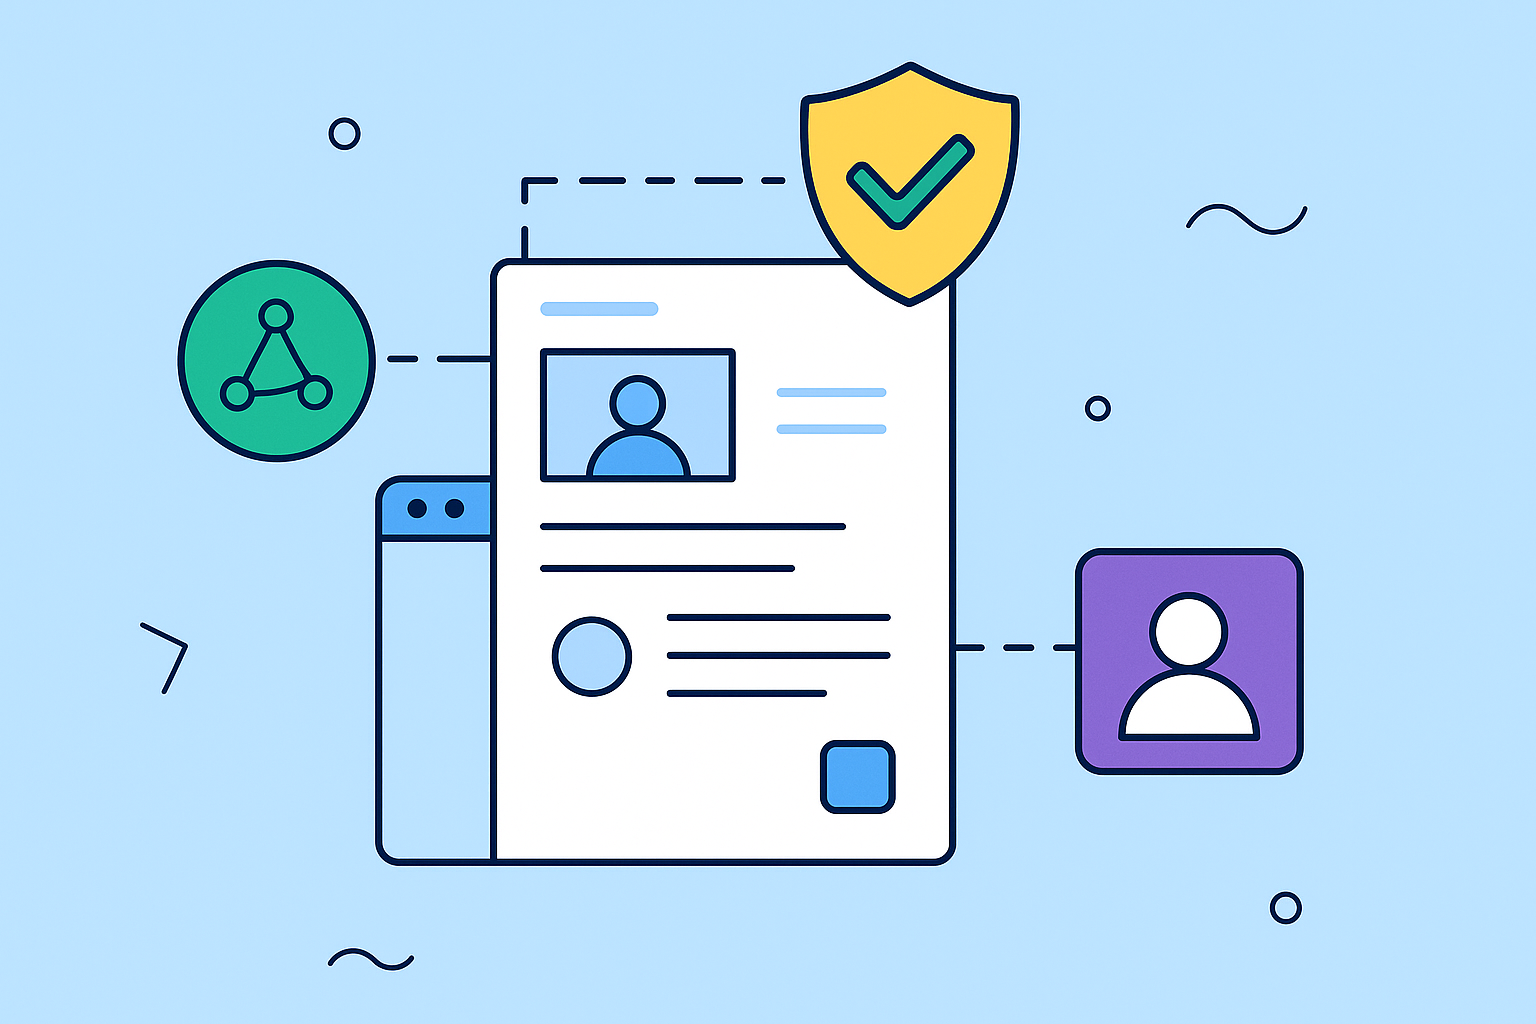
As you can see in the dashboard, Atlassian Access gives you a central command center for managing IdPs, authentication policies, and audit logs. It brings all those complex configurations into a single, visible hub.
Configuring the SAML Integration
Getting this set up involves configuring both your IdP and your Atlassian organization to trust each other. Your first move is to add the Atlassian Cloud application from your IdP’s marketplace, like the Azure AD gallery or the Okta Integration Network. These pre-built apps do a lot of the heavy lifting for you.
From there, you’ll exchange metadata between the two systems. This is just a fancy way of saying they’ll swap key pieces of information so they know how to talk to each other. This includes details like:
- Entity ID: A unique name for your Atlassian organization.
- Assertion Consumer Service (ACS) URL: The specific endpoint where Atlassian will receive the SAML confirmation from your IdP.
- Single Sign-On URL: The URL that your users get sent to when it’s time to log in.
Attribute mapping is a piece of this process you absolutely can’t afford to get wrong. You have to make sure user attributes from your IdP—email, first name, last name—are correctly mapped to the right fields in Atlassian. A mismatch here is a common cause of login failures or profiles showing up with scrambled information. To build a solid foundation, it’s always smart to follow the top system integration best practices.
Domain Verification and Pilot Testing
Before you can flip the switch and enforce SSO, Atlassian needs proof that you own your company’s email domains (like your-company.com). This is a crucial security check to stop unauthorized people from creating accounts using your corporate email addresses. It’s usually a straightforward process of adding a specific TXT record to your domain’s DNS settings.
Once you’re verified, resist the urge to roll it out to everyone at once. Trust me on this one. The best approach is to pilot the SSO integration with a small, technically inclined group, like your IT department.
Pro Tip: Set up a dedicated security group in your IdP just for the Atlassian SSO pilot. Add your test users to this group and configure the SSO policy to apply only to them. This creates a safe sandbox for you to troubleshoot any snags without disrupting the entire company.
A phased rollout like this lets you catch and fix any attribute mapping problems or configuration mistakes in a controlled setting. It also gives you the chance to craft clear, helpful instructions to prepare everyone else for the change.
SSO via Atlassian Access is a game-changer, supporting major IdPs like Okta, Azure AD, and Google Workspace, which dramatically simplifies user onboarding and offboarding for countless organizations. For a deeper technical dive, our own guide on user provisioning offers more detailed, step-by-step insights. Once your pilot is a success, you can confidently expand the SSO policy to the rest of your users.
Automating User Provisioning with SCIM
Once you’ve got SSO up and running, the next huge efficiency win is automating the entire user lifecycle. This is where the System for Cross-domain Identity Management (SCIM) protocol enters the picture. Think of SCIM as the automated messenger that works tirelessly between your Identity Provider (IdP) and your Atlassian organization.
It’s simple, really. When a new person joins the company and gets added to your IdP, SCIM automatically creates their Atlassian account. Even better, when they leave and their account is deactivated in the IdP, SCIM instantly revokes their Atlassian access. This connection is a game-changer, closing critical security gaps that manual deprovisioning inevitably leaves open.
The whole process of connecting these systems can be visualized pretty clearly.
This flow really drives home how SCIM acts as that automated bridge, making sure user data is always in sync without anyone having to lift a finger.
How SCIM Works in Practice
Under the hood, SCIM uses a standardized API that your IdP calls to make changes in your Atlassian user directory. This completely eliminates the need for admins to do the same tedious tasks in multiple places.
The real magic of SCIM, though, happens when you start mapping groups from your IdP to specific roles within Atlassian. This is the bedrock of effective Atlassian centralized user management.
Let’s walk through a real-world example. A new developer is hired.
- In your IdP (like Azure AD): They get added to the “Software Engineers” group.
- SCIM Configuration: You’ve already set up a rule that maps the “Software Engineers” IdP group to the “developers” group in Jira.
- The Result: The very instant they’re added in Azure AD, SCIM creates their Atlassian account and gives them developer permissions in all the right Jira projects. No tickets. No waiting. No manual clicking.
The same powerful logic applies when people leave. When that developer’s last day comes and they’re removed from the “Software Engineers” group, their Jira access is immediately cut off. SCIM user provisioning is a perfect example of how you can automate repetitive tasks and boost productivity in your day-to-day user management.
The biggest benefit here is the massive reduction in risk. Automated deprovisioning ensures that access is terminated at the exact moment it’s supposed to be, not hours or days later when an admin finally gets around to the task.
Automated user provisioning (SCIM) and deprovisioning are absolutely critical for keeping your systems secure and efficient. It stops former employees from holding onto access to sensitive company data, plain and simple.
Setting Up Your SCIM Integration
Getting SCIM configured involves generating an API token and a directory base URL from your Atlassian Access admin portal. You’ll then take these credentials and plug them into the SCIM provisioning settings inside your IdP.
From there, you get to define the scope. A smart move is to start small by syncing only a specific subset of users or a few groups as a pilot. This lets you test all your attribute mappings and double-check that users are getting provisioned with the correct permissions before you flip the switch for the entire organization.
It’s also incredibly important to keep an eye on the sync logs during the initial setup. These logs are your best friend for spotting potential issues, like mismatched attributes or API authentication errors. Taking the time to get this part right will save you countless headaches down the road. If you want to dive even deeper, we have a detailed article on automating user management in Jira that’s worth a read.
Enforcing Security Policies Across Your Atlassian Suite
So, you’ve connected your identity provider and got user provisioning humming along automatically. Great. Now it’s time to lock the doors. Atlassian Access is much more than a user management tool; it’s the central command for applying tough, consistent security policies across every single one of your products, from Jira to Confluence. This is where your Atlassian centralized user management strategy shifts from being about efficiency to becoming a serious security shield.
The single most effective thing you can do right now is to mandate two-factor authentication (2FA). It’s a simple move that drastically cuts down the risk of someone getting in with stolen credentials. Instead of just crossing your fingers and hoping users turn it on, you can build an authentication policy in Atlassian Access that makes it mandatory. You can roll it out to everyone or just target high-privilege groups like your admins.
Fine-Tuning Access Controls
Beyond 2FA, think about how long people stay logged in. Setting up session duration policies is an easy win for reducing the risk of someone hopping onto an unattended, logged-in computer. For instance, you could set a policy to automatically log users out after eight hours of inactivity. This forces them to re-authenticate and makes sure a forgotten laptop in a coffee shop doesn’t become a wide-open gateway to your systems.
These controls aren’t isolated; they work together to build layers of defense.
- Password Policies: You can enforce minimum length, complexity rules, and expiration timelines that match your company’s security standards.
- API Token Control: Get a clear view of all API tokens users have created. If you spot something suspicious, you can revoke it immediately, shutting down a potential back door for unauthorized scripts.
- Session Duration: By automatically ending idle sessions, you shrink the window of opportunity for an attacker to do any damage.
By pulling all these security settings into one place, you get rid of the dangerous gaps and inconsistencies that pop up when you’re managing policies product by product. It ensures every user, no matter which Atlassian tool they’re in, is held to the same high security standard.
This unified strategy is also a huge deal for compliance. In fact, for roughly 78% of enterprise users, having enforced security policies like mandatory 2FA and centralized audit logs has made it much easier to meet global regulations like GDPR and HIPAA. You can find more details on these Atlassian security practices on their site.
The Broader Security Picture
Flipping these switches in Atlassian Access isn’t just about ticking boxes on a security audit. It’s about fundamentally shrinking your organization’s attack surface. Every policy you turn on closes another potential loophole, making your entire Atlassian environment that much tougher to breach.
To see how these features plug into a bigger enterprise game plan, take a look at our complete guide on Atlassian SSO and enterprise user management. It’s a crucial read for any admin who’s serious about locking things down.
Using Audit Logs for Compliance and Reporting
If you can’t see what’s happening, you can’t control it. Real control comes from total visibility, and in the world of centralized Atlassian management, that visibility comes from the audit logs inside Atlassian Access.
These aren’t just simple activity feeds. Think of them as your organization’s unchangeable, detailed record of every critical event happening across your entire Atlassian environment. It’s the single source of truth.
From this one spot, you can track permission changes, see policy updates, and monitor user login patterns. The logs give you the who, what, and when for any security-related action, which is an absolute must-have for both proactive monitoring and, when things go wrong, reactive investigations.

Uncovering Actionable Security Insights
Don’t let your audit logs just sit there as a passive record. You need to put them to work as an active security tool. This is where you can get practical answers to critical questions and actually validate your security posture.
For instance, you can easily:
- Generate a report showing every single user who was granted organization admin rights in the last 90 days.
- Investigate a security alert by filtering down to a specific user’s activity, tracing their exact steps before, during, and after an incident.
- Confirm a policy change by pulling the log entry that shows precisely which admin updated an authentication policy and when.
This kind of detail is invaluable. Centralized audit logs give admins a unified view of what’s happening across all Atlassian cloud products, making security investigations and compliance audits much less painful. You can dig deeper into Atlassian audit logs on their support site.
The ability to quickly search, filter, and export logs means you can satisfy an auditor’s request in minutes, not days. It transforms compliance from a stressful, manual scramble into a straightforward, data-driven process.
Integrating with Your Security Ecosystem
The built-in logs are powerful on their own, but their real value gets unlocked when you plug them into your broader security infrastructure. Atlassian Access lets you stream these logs directly to external Security Information and Event Management (SIEM) tools like Splunk or Datadog.
This integration is a game-changer. It turns raw Atlassian data into correlated, actionable intelligence. Your security team can build custom dashboards, set up real-time alerts for suspicious activities, and analyze Atlassian events right alongside data from all your other corporate systems.
If your organization manages user data across multiple tools, you’re almost certainly bound by strict regulations like GDPR. For more on navigating those requirements, it’s worth reviewing a comprehensive GDPR compliance checklist. Connecting your logs to a SIEM strengthens your security posture and makes demonstrating compliance that much easier.
Common Questions About Atlassian User Management
Even the most well-thought-out plan for Atlassian centralized user management runs into real-world questions once you start implementing it. Getting ahead of these common queries can save you a ton of time and stop minor hiccups from turning into major headaches. Let’s dig into the things admins bump into all the time.
One of the first questions that always pops up is about licensing. Specifically, how do Atlassian Access licenses play with individual product licenses? The model is actually pretty straightforward: Access is billed per unique user across your entire Atlassian organization.
That means if a single person has access to both Jira and Confluence, you only pay for one Atlassian Access license for them, not two. It’s a simple model that makes budgeting easier, but it also means you have to keep a sharp eye on your total user count to prevent any surprises on your bill.
What Happens When an IdP Sync Fails?
Another frequent worry is what to do when the sync between your Identity Provider (IdP) and Atlassian Cloud just stops working. Sync failures can happen for a few reasons, but they usually trace back to a handful of common culprits. Nine times out of ten, it’s going to be mismatched user attributes, an expired SCIM API key, or a network hiccup.
Before you even think about opening a support ticket, the first place to look is always the provisioning logs in your IdP.
- Check Attribute Mappings: Make sure the basics like
email,firstName, andlastNameare mapped correctly from your IdP to what Atlassian is expecting. A simple typo here can break the whole thing. - Verify API Credentials: Atlassian recently announced that SCIM API keys now expire after one year for security. Double-check that your token hasn’t expired. It’s an easy one to forget.
- Review Sync Scope: Is the user or group having trouble actually included in the provisioning scope? It’s a common oversight to add someone to a group in your IdP but forget to include that group in the sync settings.
Running through these quick checks will solve the vast majority of sync issues you’ll encounter.
Handling Deactivated Versus Deleted Users
This is a big one. The difference between deactivating and deleting a user might seem small, but it’s a critical distinction that trips up a lot of admins. Getting this right is fundamental to proper user lifecycle management.
When you deactivate a user through your IdP (using SCIM), you’re revoking their access to all Atlassian products, but all their history is perfectly preserved. Their comments, page edits, and ticket assignments stay right where they are. This is absolutely the way to go for offboarding employees.
Deleting a user, however, is permanent and destructive. It scrubs them from the system and anonymizes their past contributions, which can wreak havoc on your historical data and reporting. Unless you have a very specific legal reason, deactivation is almost always the safer, smarter, and more compliant choice.
If you want to dive deeper into this topic, we’ve got a full guide on how to properly deactivate Jira users.
By getting a handle on these common issues, you can manage your Atlassian environment with more confidence, keeping it both secure and stable as your company grows.
Ready to take control of your Atlassian licenses and stop paying for inactive accounts? resolution Reichert Network Solutions offers User Deactivator, an app that automates the cleanup of your user directory. It identifies and disables inactive users on a schedule, ensuring you only pay for the seats you actually use. Optimize your license costs today with User Deactivator.
