
Let’s be honest—if your support and engineering teams are constantly pointing fingers, your issue escalation process is broken. This isn’t just an internal headache; it’s a silent killer of customer trust and team morale. When vague support tickets and a total lack of shared context become the norm, critical bug fixes get pushed to the back of the line, leading directly to customer churn.
Why Your Issue Escalation Process Is Failing

A fractured escalation process creates bottlenecks that hit your bottom line hard. I’ve seen it happen time and again in SaaS companies: a support agent gets a ticket about a “glitchy feature.” The agent jots down a few notes and tosses it over to engineering. Without any context on the customer’s plan or the business impact, the engineering team naturally deprioritizes it.
Weeks later, that “glitch” turns out to be a major bug crippling your highest-paying enterprise clients. By the time anyone realizes the severity, frustration has boiled over, and a key account is threatening to walk. This disjointed system, where crucial information gets lost in translation, is more than just inefficient—it’s expensive.
The Hidden Costs of Inaction
The real costs of a poor issue escalation process are steep. Every minute an engineer spends chasing a support agent for more information is a minute they aren’t shipping code. Every customer left hanging is one step closer to checking out your competitors. That friction doesn’t just slow you down; it erodes both internal morale and customer loyalty.
A disorganized process isn’t just a workflow problem; it’s a business problem. It creates a reactive, high-stress environment where teams work against each other instead of toward the shared goal of making customers happy.
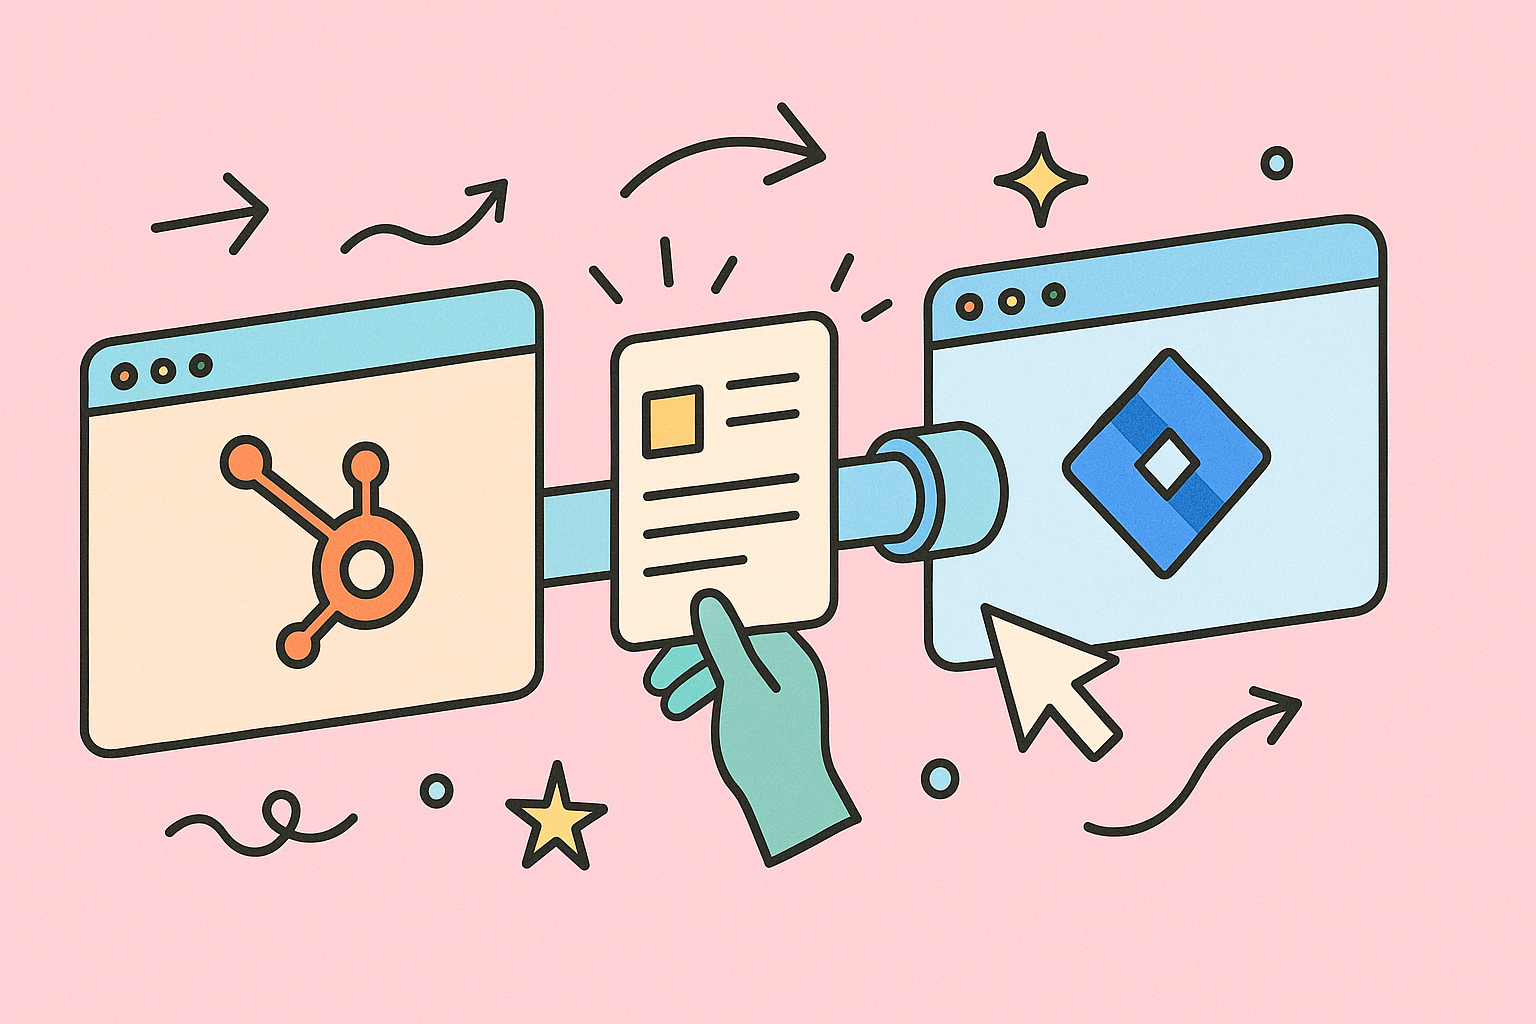
The solution isn’t more status meetings or clunky tracking spreadsheets. It’s about building a smarter, automated bridge that connects your teams. This is where linking HubSpot and Jira comes in, letting you eliminate the guesswork and manual data entry that cause these costly delays.
Check out this quick comparison to see what a difference it makes.
Impact of an Optimized Escalation Process
| Metric | Disorganized Process | Streamlined HubSpot-Jira Process |
|---|---|---|
| Time to Resolution | Days or weeks | Hours or days |
| Engineer Context | Low; requires manual follow-up | High; all customer data is linked |
| Team Morale | Low; finger-pointing and frustration | High; collaborative and efficient |
| Customer Satisfaction | Low; leads to churn | High; builds loyalty and trust |
This integrated approach means that when a ticket gets escalated, it automatically carries all the necessary context with it. You’re not just passing a ticket; you’re passing a complete story. This shift from a manual handoff to a structured, data-rich workflow transforms the entire dynamic.
In fact, research shows that support managers who implement a well-defined escalation matrix can achieve a 30-40% reduction in escalation rates, which directly optimizes costs and improves service levels. If you want to dive deeper, you can explore the benefits of an escalation matrix and see how it can help your own organization.
Laying the Groundwork for Your HubSpot and Jira Integration
Jumping straight into connecting HubSpot and Jira without any prep work is a bit like building a bridge from both sides and hoping it meets in the middle. You’ll probably end up with a mess. A bulletproof issue escalation process absolutely depends on getting this foundational work right. Before you even think about touching the integration settings, you need to make sure both platforms are speaking the same language.
This isn’t just about ticking off technical boxes. It’s about sidestepping those frustrating roadblocks that always seem to pop up—permission errors, data getting scrambled, and engineers wondering why they have a ticket with no useful information. A little planning now saves a lot of headaches later.
Align Your Data Fields and Properties
This is the big one. If you don’t thoughtfully map HubSpot ticket properties to Jira issue fields, crucial information will simply vanish during the handoff.
Imagine this scenario: a support agent meticulously documents a show-stopping bug for a high-value customer and flags it as “High” priority. But because the fields weren’t mapped correctly, it lands in the engineering team’s backlog as “Lowest” priority. That’s a recipe for a very unhappy customer.
Start by getting your support and engineering leads in a room (virtual or otherwise) and auditing the absolute must-have information an engineer needs to even start working. You’ll likely land on a list that includes:
- Ticket Priority: Make sure HubSpot’s priority levels (like Low, Medium, High) have a direct, one-to-one equivalent in Jira. No guesswork allowed.
- Ticket Status: Think about the journey of a ticket. What does a HubSpot status like “Waiting on engineering” actually mean in Jira? Does it map to “To Do,” “In Progress,” or something else? Define it clearly.
- Issue Type: This is a classic stumbling block. I highly recommend creating a custom property in HubSpot that perfectly mirrors your Jira issue types (e.g., Bug, Task, Story). This helps engineers categorize and filter their work instantly.
- Customer Context: This is where the magic happens. Fields like Company name, Deal size, or customer tier in HubSpot should be mapped to custom fields in Jira. This gives engineers immediate insight into the business impact of the issue.
The goal is a truly seamless handoff. An engineer shouldn’t have to leave Jira, ping someone on Slack, or dig through their email just to understand the context of a ticket. Everything they need should be right there, front and center, in the Jira issue.
Confirm Subscriptions and User Permissions
It sounds simple, but you’d be surprised how often a project stalls because someone hits a subscription paywall or a permissions error. Before you get started, double-check that you have the right access levels.
Here’s what you’ll need:
- HubSpot: The workflow automation features that power this integration are only available on Professional or Enterprise plans for Service Hub or Operations Hub.
- Jira: You must be using a Jira Cloud instance. This integration is built for the cloud.
- Permissions: The person setting up the integration needs App Marketplace permissions in HubSpot and Admin permissions in Jira. Without both, the installation and configuration will fail.
Skipping this check is a rookie mistake that can cost you hours of backtracking. To get a full rundown of all the technical prerequisites, check out our comprehensive HubSpot for Jira integration guide—it covers everything you need for a smooth setup: https://www.resolution.de/post/hubspot-jira-integration-2/.
Get Your Teams Ready for the New Workflow
Finally, remember that the best tool in the world is useless if nobody uses it properly. Technology is only half the solution; you need buy-in from your people.
Get your support and engineering teams together for a quick walkthrough. Show them the new workflow, define exactly what makes a ticket “escalation-worthy,” and set clear expectations for communication and response times.
This isn’t just a courtesy—it’s critical for adoption. When both teams see how the new issue escalation process makes their lives easier—less manual data entry for support, richer context for engineering—they’ll actually want to use it. This alignment is what makes the system work in practice, not just in theory.
Connecting HubSpot and Jira Step-by-Step
Alright, with your teams aligned and your platforms prepped, it’s time to build the technical bridge that will power your entire issue escalation process. Linking HubSpot and Jira is pretty direct, but the small choices you make here will make a huge difference in how smoothly information actually flows between your teams.
This is where all that groundwork you did on aligning fields and permissions really starts to matter. The goal isn’t just to connect two apps; it’s to create a link so seamless that escalating a ticket feels like a natural part of your support agent’s day, not some clunky, manual chore.
Let’s dive in.
Installing the Jira Integration from the Marketplace
First things first, you’ll head over to the HubSpot App Marketplace. This is the central hub for pretty much any integration you’d want to add to HubSpot. Your target is the official Jira Software integration, which is developed by HubSpot themselves.
You’ll know you’ve found the right one when you see this listing.
This is the official app from Atlassian, and it’s the key to building a native, reliable connection between the two systems.
The installation itself is quite user-friendly. Just click “Install app,” and HubSpot will walk you through the authentication steps. You’ll need to log in to your Atlassian account and grant HubSpot the necessary permissions to create and update Jira issues on your behalf.
Configuring Your Core Connection Settings
Once you’re authenticated, you’ll land on the main configuration screen. This is where you’ll make two critical decisions that dictate exactly where your escalated tickets end up.
- Select Your Jira Project: You’ll see a dropdown menu listing all of your available Jira projects. This is where you pick the specific engineering or development project where escalated HubSpot tickets will be created.
- Define Issue Creation Rules: This setting controls how Jira issues get made. You can set it up so your team creates them manually from a HubSpot ticket, or you can get fancy and automate their creation using workflows (we’ll get more into that later).
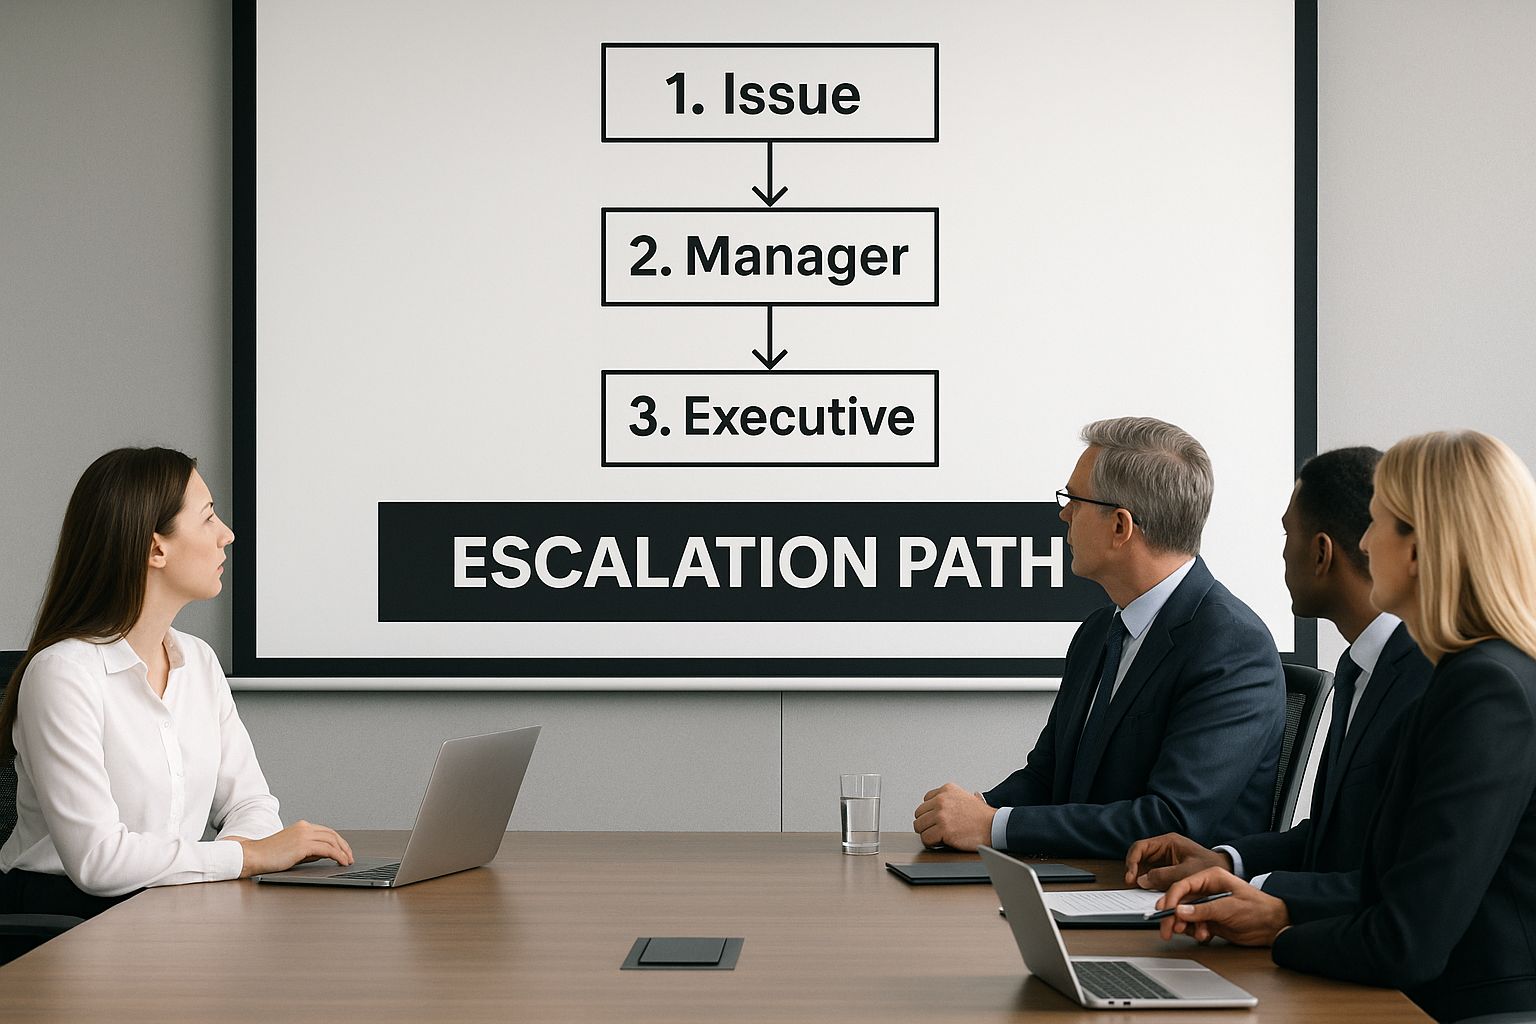
Having a well-defined escalation path is what separates a smooth process from a chaotic one.
Visualizing this path helps everyone, from support to engineering, understand exactly how a customer’s problem gets from a support ticket into the development backlog. A clear, pre-defined route prevents tickets from getting lost in the wrong project or, worse, ignored completely. It gives every escalated issue a designated home.
Pro-Tip: Before you connect this to your main engineering project, do yourself a huge favor and create a “Jira Integration Test” project in Jira first. Use this as a sandbox to test your setup and field mappings. Escalate a few test tickets and make sure everything—priorities, descriptions, custom fields—shows up exactly as you expect. This one simple step can save you from accidentally flooding your live engineering backlog with a bunch of junk data.
After you’ve confirmed everything syncs correctly in your test environment, you can confidently switch the configuration to point to your live Jira project. This ensures a clean rollout and keeps your development team happy, which is a cornerstone of any good issue escalation process.
Alright, you’ve built the technical bridge between HubSpot and Jira. That’s a solid first step. But the real magic happens when you add the intelligence on top. A connected system is one thing; an automated one is where you actually start to see a transformation in your issue escalation process.
This is the part where you graduate from manual handoffs and nagging reminders to a smart, hands-off workflow that fires at precisely the right moment. No more hoping a support agent remembers to escalate a critical ticket—you build the rules, and the system does the heavy lifting. This is how you guarantee speed and consistency every single time.
The engine for all of this is the HubSpot Workflow tool.
Designing Your Workflow Triggers
First things first, you need to decide what kicks off the automation. These “enrollment triggers” are the specific conditions that tell HubSpot, “Hey, this ticket is important enough for engineering to see.”
The goal here is a balancing act. You need to be specific enough to avoid spamming your engineers with low-priority noise, but broad enough to catch every genuinely urgent issue. It’s a bit of an art and a science.
From my experience, the most effective triggers are often the simplest. Think about the clear signals that a ticket needs to be escalated:
- Ticket Priority is High: This is the most obvious one. When a support agent manually flags a ticket as “High” or “Urgent,” the workflow can instantly push it to Jira. No delays.
- A Specific Issue Type: Remember that custom property you set up for “Issue Type”? Now’s the time to use it. If a ticket is categorized as a “Bug Report” or “Security Concern,” it should almost always jump the queue and head straight to engineering.
- Time-Based Conditions: What about the tickets that quietly slip through the cracks? A trigger based on inaction is incredibly powerful. For example, you can set a rule that if a ticket sits for more than 24 hours without a reply or resolution, it gets automatically flagged for review and potential escalation.
You can also get more sophisticated by combining these. For instance, you could create a workflow that only triggers when a ticket is marked “High” priority and comes from a customer on your “Enterprise” plan. That’s how you start tailoring the process to your business priorities.
Configuring the Jira Creation Action
Once a ticket meets your trigger criteria, the workflow needs to do its main job: creating the Jira issue. This is where all your prep work on field mapping comes into play and starts to pay off.
Inside the HubSpot Workflow, you’ll add an action to “Create a Jira issue.” This will pop open a configuration panel where you map the data from the HubSpot ticket directly to the fields in the new Jira issue. You’ll tell it which Jira project to send it to and what issue type it should be (like “Bug” or “Task”).
But here’s the most critical part, and it’s something people often forget: close the communication loop. After the workflow creates the Jira issue, you absolutely must add a follow-up action to “Create a comment” on the original HubSpot ticket. Set this up to automatically post the new Jira issue link as an internal note.
This simple automated note is a game-changer. It gives the support agent immediate visibility without ever having to leave HubSpot. No more chasing down engineers or asking, “What’s the status of that ticket I sent over?”
The support agent can see the Jira link, click right through to check on progress, and keep the customer in the loop, all from a single screen. This creates a single source of truth and finally removes the communication friction that plagues so many support and engineering teams.
If you want to dig deeper into setting up these kinds of intelligent systems, we’ve covered more ground in our article on workflow automation solutions.
How to Maintain and Improve Your Process

Here’s a hard truth: a great issue escalation process is never truly “done.” You can’t just set it and forget it. Your business evolves, your product gets new features, and your teams grow. If your workflow doesn’t adapt, it will break. This isn’t about making a few tweaks here and there; it’s about building a cycle of continuous improvement driven by real data, not guesswork.
The real shift happens when you move from being reactive to proactive. Instead of waiting for a dumpster fire, you should be actively searching for weak points and opportunities to make things better. That means regularly diving into performance data and, just as importantly, talking to your support and engineering teams.
Monitor Key Metrics with HubSpot Reports
You can’t fix what you can’t see. This is where HubSpot’s reporting tools become your best friend. The first thing I always recommend is building a custom dashboard to keep an eye on a few critical metrics.
These data points will give you a brutally honest picture of what’s working and what’s a bottleneck:
- Total Escalation Volume: Are you seeing sudden spikes? That could point to a nasty new bug, but it could also mean there’s a gap in your knowledge base that’s forcing agents to escalate issues they could solve themselves.
- Resolution Time for Escalated Tickets: How long are engineers actually taking to resolve issues after they get them? This is your accountability metric for SLAs. No more excuses.
- Top Escalation Reasons: This is pure gold. Which specific problems are constantly being thrown over the wall to engineering? This data tells you exactly where better documentation, training, or even a small product fix could have a massive impact.
Your data will show you what is happening, but it’s your teams who can tell you why.
Refine Your Process Through Feedback and Analysis
Schedule regular, brief check-ins with your support and engineering leads to go over the escalation reports together. This closes the loop and turns process improvement into a team sport. After all, learning from incidents by conducting thorough post-mortems is a crucial step in getting better.
In these meetings, ask pointed questions. Is the information coming through to Jira clear and sufficient? Are the automation triggers firing too often, or not enough? This kind of collaborative review transforms process maintenance from a top-down mandate into a shared responsibility.
For a deeper dive into perfecting these kinds of workflows, I also suggest checking out this solid guide on the incident management process: https://www.resolution.de/post/incident-management-process/
Common Questions (and Answers) About HubSpot for Jira Escalations
Even with a perfectly designed workflow, questions are going to pop up. When you’re bridging the gap between support and engineering, a few real-world challenges are bound to surface. Here are some of the most common questions teams have when they’re getting started.
What Happens If an Engineer Updates a Jira Issue?
This is where the magic really happens. The native integration creates a true bi-directional sync, which means updates flow both ways automatically.
So, when an engineer drags a Jira issue from ‘In Progress’ to ‘Done,’ that status change can show up right on the associated ticket in HubSpot. You get to decide exactly which status changes and comments sync back. You can even use these updates to trigger a notification, letting your support agent know it’s time to share the good news with the customer. No more manual check-ins.
This two-way communication is what finally breaks down the wall between support and engineering. It transforms the process from a one-way ticket toss into a collaborative, real-time conversation.
Can I Link Multiple HubSpot Tickets to a Single Jira Issue?
Absolutely. This is a classic scenario for widespread issues or bugs. While your automation will likely create a one-to-one link for the first reported ticket, handling subsequent reports is surprisingly simple.
The best practice here is to escalate that first ticket, which creates the “master” Jira issue. Then, for every new ticket that comes in about the same problem, your support agents can just manually link it to that existing Jira issue right from the HubSpot ticket sidebar.
This is a huge win. It keeps duplicate issues from flooding the engineering backlog and gives your dev team a single, consolidated view of how many customers are actually affected.
What Are the Most Common Setup Mistakes?
Having seen this process implemented many times, the biggest pitfalls almost always boil down to three things: poor field mapping, overly ambitious workflow triggers, and—most importantly—a breakdown in communication.
- Poor Field Mapping: If you don’t map your fields correctly, you’re going to lose data. It’s that simple. This forces engineers to hunt for information, creating frustrating manual work that undermines the whole point of the integration.
- Overly Complex Triggers: It’s tempting to automate everything, but workflows that are too broad will just flood your engineering team with low-priority noise. Before you know it, they’ll start ignoring the notifications altogether.
- Lack of Communication: This is the big one. You can have the best tech in the world, but if you don’t train both teams on the new process and agree on clear SLAs, the system will fail. The breakdown is rarely about the tool; it’s almost always about the people.
Unite your sales, support, and development teams with resolution Reichert Network Solutions GmbH. Our HubSpot for Jira app provides a seamless, two-way sync that gives your teams the full customer context they need, right inside Jira. Start breaking down silos today.
