
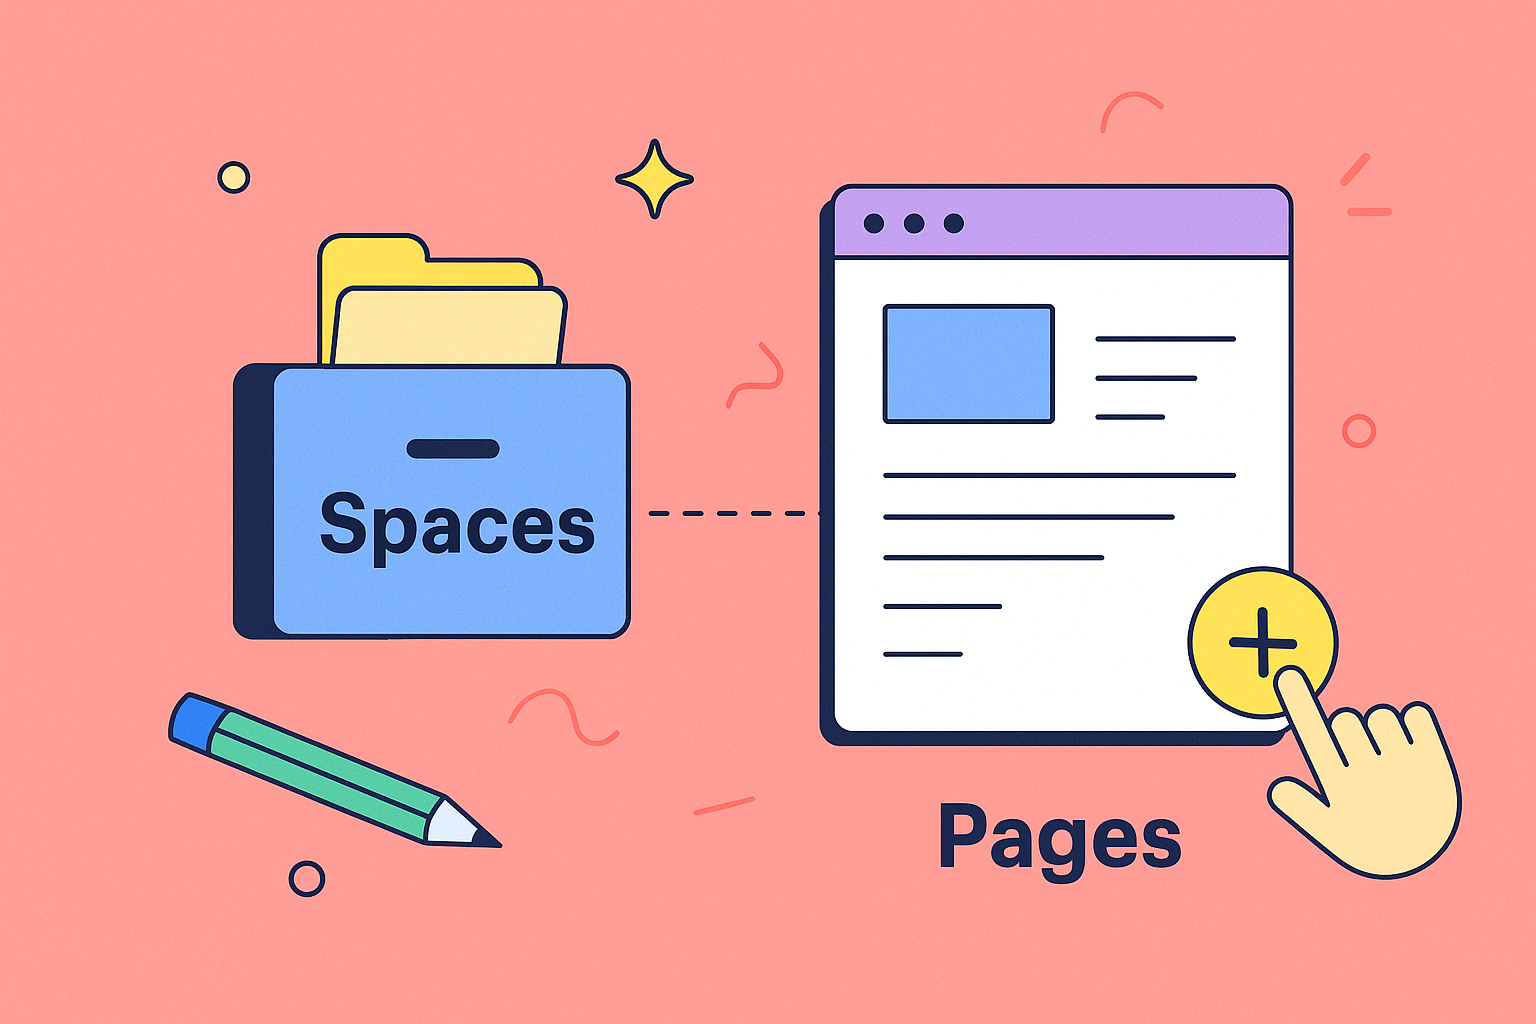
To really get the hang of Confluence, you first need to understand its two main building blocks: Spaces and Pages. I always tell new users to think of a Space as a digital filing cabinet for a specific team or project. Pages are simply the individual documents you put inside that cabinet.
Once that clicks, finding your way around the dashboard and creating your own content starts to feel much more natural.
Navigating Confluence for the First Time
Jumping into a new tool can feel a bit like being dropped in a foreign city without a map. The Confluence dashboard throws a lot at you right away—recent updates, popular pages, a sidebar packed with links. Don't get overwhelmed. Your first goal is just to get your bearings.
The most important things are usually right at the top in the header and along the left-hand sidebar. Your journey really starts with that big Create button in the top navigation bar. That’s your gateway for adding anything new.
Next, get familiar with the sidebar. This is your primary navigation tool, showing you all the different Spaces you can access. It’s how you’ll jump between, say, the marketing team’s campaign hub and your own personal draft area.
Understanding Your Environment
Confluence organizes everything into containers called Spaces. A Space is just a dedicated area for a team, project, or even a broad topic. You can think of them as mini-websites inside your company’s main Confluence site. This structure is what stops all that information from turning into a complete mess.
You’ll generally run into two types of Spaces:
- Site Spaces: These are the big, collaborative hubs. You’ll see Spaces with names like "Q4 Marketing Campaigns," "Engineering Best Practices," or "New Hire Onboarding." This is where the bulk of your team's work will live.
- Personal Spaces: Every user gets their own personal Space. This is your private sandbox. It's the perfect spot to draft pages, jot down meeting notes, or flesh out an idea before you’re ready to share it with the whole team. I use mine all the time to prep content without cluttering up our official team space.
Here’s a classic rookie mistake: creating pages at the top level without putting them in the right Space. Before you hit "Publish," always take a second and ask yourself, "Which project or team does this information belong to?" Starting in the right Space from day one is a critical habit for keeping things organized long-term.
The Global Reach of Confluence
This simple structure of Spaces and Pages is incredibly powerful, which is why it's used at such a massive scale. Confluence is a staple in more than 77,000 companies across 143 countries. In the United States alone, that number is around 14,700 companies.
This isn't just a niche tool; its widespread adoption, which you can read more about in these Confluence adoption statistics on theirstack.com, proves how well it works for managing knowledge in almost any industry.
By getting a handle on the basic layout and the key difference between site and personal spaces, you’re essentially building a mental map. With this map, you can start moving around with confidence, knowing exactly where to find what you need and, just as importantly, where to contribute your own knowledge. You're no longer just a visitor—you're on your way to becoming a resident.
Building Your First Knowledge Base
Once you've poked around a bit, it's time to roll up your sleeves and start building. This is the moment Confluence goes from being an empty tool to becoming the central brain for your team—your single source of truth. The first choice you’ll make is a big one: start with a blank page or grab a template?
Going blank gives you complete control, which can be freeing. However, using a pre-built template for things like 'Meeting Notes' or a 'Project Plan' hands you a battle-tested structure right out of the box. For anyone new to Confluence, I always suggest starting with a template. It's not just about saving time; it's about building good documentation habits from day one.
Creating a Scalable Content Structure
A huge part of making your knowledge base work is learning how to organize digital files effectively. This principle is baked right into Confluence's DNA, and the best tool for the job is the parent-child page hierarchy. This lets you nest pages under one another, creating a clean, logical tree that anyone can follow.
Without this hierarchy, your space quickly turns into a flat, messy pile of documents. With it, you bring clarity and context to everything.
- Parent Page: Think of this as your main folder or high-level topic. A good example would be a parent page called "Q3 Project Phoenix Launch."
- Child Pages: These are the specific documents that live underneath. Tucked under your "Q3 Project Phoenix Launch" page, you might have child pages for "Stakeholder Meetings," "Technical Specifications," and your "Go-to-Market Strategy."
This simple system keeps your knowledge base from becoming a digital junk drawer filled with disconnected files. Honestly, setting up this structure is one of the most critical things you can do for the long-term health of your space. For a deeper dive, you can also check out this guide on building a powerful knowledge base in Confluence.
Visualizing Your Workspace Setup
Organizing a Confluence space is a lot like setting up a physical workshop—a smart layout makes you more productive. This infographic does a great job of showing how a well-organized space starts with clear, top-level pages that branch out into more detail.
It’s a perfect visual reminder of why you need a deliberate structure from the very beginning, making sure every piece of content has a logical home.
My personal rule is simple: if a page feels like it belongs to a larger topic, it must be a child page. Never leave pages "floating" at the top level of a space unless they are a true pillar of that space's entire purpose.
From Technical Wiki to Enterprise Hub
This obsession with structured knowledge has been a core part of Confluence for a long, long time. It first showed up in the mid-2000s as a tool mainly for software teams. By 2010, it had already convinced over 20,000 customers—including giants like Adobe and Facebook—that it was the real deal.
Atlassian’s vision was always bigger than just a developer tool. They wanted to build a knowledge hub for entire companies. This history is why features like page hierarchies are so deeply embedded; they were foundational to scaling knowledge from a small team to a whole enterprise.
Making Your Pages More Dynamic and Readable

A well-structured page is a great start, but let's be honest—a wall of text is a surefire way to make your colleagues' eyes glaze over. To really get the hang of Confluence, you have to think beyond just static words on a page. The goal is to create dynamic, readable resources that people actually want to use.
This starts with the basics: using the built-in formatting tools to guide your reader's eye. Break up long sections with headings (H2, H3, etc.), organize data with tables, and use multi-column layouts to show related info side-by-side. These aren't just cosmetic tweaks; they fundamentally change how people absorb what you've written.
Unleashing the Power of Macros
The real magic, though, is in the macros. Think of them as small apps you can drop right onto your page to add new features or pull in live data. They are what will transform a simple document into an interactive, always-up-to-date hub.
You can add a macro by simply typing / on your page and searching for the one you need. The list might seem intimidating at first, so let's zero in on a few game-changers that deliver immediate value.
-
Table of Contents Macro: This one is non-negotiable for any long-form guide or detailed project plan. It automatically generates a clickable list of all the headings on your page, letting readers jump to the section they need in an instant.
-
Info Panel Macro: This macro creates a colored box to make critical information pop. It's perfect for warnings, important notes, or pro tips. It visually separates the "you absolutely need to know this" parts from the rest of the text.
-
Jira Issue/Filter Macro: For any team living in Jira, this macro is a powerhouse. You can embed a single, live Jira ticket or an entire filter (like "all open bugs for this sprint") directly onto your page. This means real-time status updates without ever leaving Confluence.
A common mistake I see is teams just copying and pasting information from other systems. Don't do it. Use macros to create a living document instead. By embedding a Jira filter, for example, your project dashboard updates itself, ensuring it's always the single source of truth.
Building a Dynamic Project Dashboard
Let’s walk through a real-world scenario to see how this all comes together. Imagine you're building a central dashboard for "Project Falcon." A static page would be stale in a week. We can do better.
Start by creating a two-column layout. On the left, drop in the Table of Contents macro at the top for easy navigation. Below that, you can write out your project overview and goals.
Now for the right-hand column. Use an Info Panel macro to display the project's current status—maybe "On Track" in a nice, bright green. Below that, add the real game-changer: the Jira Issue/Filter macro. Configure it to pull in all open tasks for Project Falcon, showing who they're assigned to and their due dates.
What you've just built isn't just a document; it's a functional tool. Stakeholders can now see the high-level plan and get live updates on tasks at the same time.
While Confluence offers some solid out-of-the-box reporting, it's also worth looking into powerful Confluence analytics alternatives that can give you much deeper insights into how your team is actually using this content. When you master these tools, you stop building pages that are just read and start creating resources that are actively used.
Fostering True Team Collaboration
Confluence is designed to pull conversations out of those endless, messy email chains and into one central, organized home. It’s all about moving feedback from scattered sticky notes and DMs into a structured workflow, making it a genuine powerhouse for any team.
The trick is really getting the hang of its built-in collaborative tools. Instead of version-controlling a document by emailing it back and forth, you can bring the entire review cycle right onto the Confluence page.
Giving and Receiving Precise Feedback
The most granular way to collaborate is with inline comments. Just highlight any word or sentence on a page, and a comment box will pop right up. This is perfect for those moments when you need to suggest a specific wording change or ask for a quick clarification on a single point.
For broader, higher-level discussions, every page has a page comments section at the very bottom. This is where you’d drop bigger picture feedback—maybe questioning the overall strategy of a document or hashing out the next steps.
And to make sure your feedback actually gets seen by the right person, you have @mentions. Simply type @ followed by a team member's name in any comment. They'll get an instant notification, pulling them into the conversation exactly when and where you need them.
A Real-World Collaboration Workflow
Let's walk through a common scenario. Imagine your team is drafting a new "Work From Home Policy." Here’s how that entire process can live and breathe inside Confluence, without a single email attachment.
- The Draft: The HR manager kicks things off by creating a new page titled "Draft – Work From Home Policy" and laying out the initial version.
- The Review Loop: Next, the manager drops a page comment, using @mentions to tag the department heads and ask for their review by a specific date.
- Targeted Feedback: A department head spots a sentence about equipment reimbursement. They highlight it and add an inline comment asking for more detail on what's covered.
- Discussion and Resolution: The HR manager gets a notification, jumps in, and replies directly to that inline comment with the clarification. Once the feedback is handled, they click "Resolve."
- Final Approval: After all comments are resolved, the page is finalized. The page status is updated, creating a crystal-clear audit trail of the entire review and approval process.
This centralized, transparent approach is a huge reason why the platform is so popular. As of 2024, Confluence is a core tool for over 40,000 organizations, powering collaboration at a massive scale. To put that in perspective, in 2022 alone, its users created over 58 million pages. You can explore more about Confluence's impressive scale and usage statistics on ElectroIQ.
Staying in the Loop
If you're working on a critical document and can't afford to miss a single update, the Watch feature is your best friend. By "watching" a page, you're essentially subscribing to its updates and will get an email notification for any changes or comments.
Confluence's version history is your ultimate safety net. It automatically saves a new version every single time someone hits "Publish." If an edit introduces an error or removes something important, you can easily compare versions side-by-side and revert to an older one with a single click. No more "Final_v2_final_FINAL.docx" anxiety.
Of course, having the right tools is only half the battle; strong team habits are what make them truly effective. You can explore broader strategies for improving team collaboration that complement the features inside Confluence. For an even deeper dive, check out our guide on how to improve team collaboration across your entire organization.
Controlling Access with Permissions
As your team starts to rely on Confluence, you'll quickly realize that not every piece of information is meant for every person. This is where mastering permissions becomes one of the most vital skills you can develop. Without a solid strategy for access control, you're opening the door to sensitive data leaks or, more commonly, accidental edits on mission-critical documents.
Getting a handle on Confluence permissions is what truly elevates it from a simple wiki to a secure knowledge hub. The good news is that the system is built on a logical hierarchy that cascades downward. Once you see the flow, it all clicks into place.
- Global Permissions: Think of these as the site-wide bouncers, set by your Confluence admin. They control the big-picture stuff, like who can log in or if users can create their own personal spaces.
- Space Permissions: This is where the real day-to-day management happens. For each individual Space, you can give specific groups or people the keys to view, add, or delete content within that entire area.
- Page Restrictions: For those moments you need surgical precision, you can lock down individual pages. This lets you override the broader Space permissions for a single document, making it more or less accessible than everything else around it.
Practical Permission Scenarios
Let's put this into practice. Imagine you need a private corner for the leadership team to hash out quarterly financials. You'd simply create a new Space, maybe call it "Leadership Team," and then dive into the Space permissions. There, you would grant access only to the 'leadership-group'. For everyone else, that space doesn't even exist.
Now for a different scenario. You've got a project plan that the core team needs to edit constantly, but you also need to share it with an external partner for feedback. You don't want them making changes. In this case, you'd set the Space permissions to give your internal team full edit rights. Then, on that specific "Project Plan" page, you'd add a page restriction granting the partner's user account ‘View’ only access. They can see everything but can't touch a thing.
The core principle to remember is that permissions are inherited. A page gets its access rules from its parent page, which gets them from the Space. Page restrictions are your tool for intentionally breaking that chain of inheritance when you need targeted control.
Streamlining User Access at Scale
Manually tweaking these settings is fine for a small team, but what happens when you have hundreds or thousands of users? It quickly becomes an overwhelming task. This is where automating the user lifecycle is no longer a luxury, but a necessity.
For large organizations, this often means setting up sophisticated solutions for adding and removing users automatically to maintain security and compliance. In fact, many enterprises look into advanced methods for provisioning Confluence users to keep their directories clean and secure without endless manual work.
This structured approach—from broad global rules down to specific page locks—gives you the flexibility to build an environment that’s both secure and open. You can empower teams with the access they need while confidently walling off information that must remain confidential.
Extending Confluence with Apps and Integrations

While Confluence is a powerhouse right out of the box, its true potential is realized when you start exploring the Atlassian Marketplace. This is a massive ecosystem of apps and integrations built to fill specific functional gaps and really dial in Confluence to your team's unique way of working. Think of it as an app store, but just for your Atlassian tools.
The marketplace exists to solve problems that the core product doesn't—or can't—address on its own. You're not just tacking on features for the fun of it. You're strategically upgrading your instance to smooth out rough patches in your workflow. This is a crucial part of moving from simply using Confluence to mastering it at an enterprise level.
Solving Common Problems with Apps
Let's get practical. A frequent headache for new teams is creating anything more complex than a basic diagram or process flow. Confluence’s built-in drawing tools are fine for quick sketches, but they can feel pretty limiting when you need something more professional. This is a perfect example of where an app can step in and save the day.
-
Diagramming Tools: It's no surprise that apps like Draw.io and Gliffy are incredibly popular. They let you build polished flowcharts, mind maps, and org charts directly inside your Confluence page. This keeps all your documentation in one spot, rather than forcing you to create diagrams in a separate tool and upload static, un-editable images.
-
Advanced Tables: Does your team wrestle with big tables of data? The native tables in Confluence don't offer advanced sorting and filtering, which can be a real pain. A good table plugin can add these capabilities instantly, transforming a static wall of data into an interactive, searchable resource.
Real-World Example: Visualizing a Marketing Funnel
Imagine a marketing team trying to map out a new customer journey. Sure, they could write out a long description, but a visual diagram is going to be infinitely more effective. Using an app like Draw.io, they can build the entire funnel right there on their project planning page.
Then, right below that diagram, they can embed a dynamic table pulling in the latest campaign performance data from another system. This combination of visual context and interactive data—all made possible by apps—creates a much richer and more useful document than Confluence could ever produce on its own.
Pro Tip: Don't go on an app shopping spree. Start by identifying a clear, specific pain point your team is experiencing. Is it a struggle to manage project timelines? Is your documentation looking visually bland and unengaging? Pinpoint the problem first, then search the marketplace for the solution.
Apps for Every Team and Use Case
The marketplace caters to just about every team you can imagine. Development teams can find apps that create tighter integrations with their CI/CD pipelines, while PMOs can discover powerful project management add-ons. You'll even find highly specialized Confluence apps designed specifically for marketing teams to help with everything from campaign planning to content calendars.
The key is to stop seeing apps as optional extras and start viewing them as essential tools for getting the most out of your Confluence investment. They’re what allow you to build a system that works precisely the way your team needs it to.
Confluence FAQs: Your Questions, Answered
As you and your team start getting comfortable with Confluence, you’ll likely run into a few common questions. I’ve seen them pop up time and time again. This section is designed to tackle those early sticking points head-on, giving you clear answers so you can build momentum from day one.
What's the Real Difference Between a Confluence Space and a Page?
This is probably the most important concept to nail down right away.
Think of a Space as a dedicated digital HQ for a team or a major project. For example, you might create a "Marketing Team" Space or a "Q4 Product Launch" Space. It’s the top-level container that groups everything related to that specific focus area.
A Page, on the other hand, is a single document that lives inside that HQ. It could be the meeting notes from your last marketing sync, the project plan for the launch, or a technical requirements doc. Spaces give you structure; pages hold the actual information.
A classic rookie mistake is creating "homeless" pages that don't belong to any specific Space. Always ask: "Which team or project owns this?" That one question will save you from a world of digital chaos down the road.
Can Confluence Just Replace Jira or Trello?
Not really. It’s less about replacement and more about a powerful partnership. Confluence is where you hash out the why and the how of your work. It’s for your strategic plans, your detailed requirements, and your collective knowledge.
Tools like Jira or Trello are built for the what and the who. They track the specific tasks, who they're assigned to, and when they're due.
The magic happens when you bring them together. You can embed a live Jira board directly onto a Confluence page using a macro. Suddenly, you have a single source of truth—the detailed project brief from Confluence right alongside the real-time task progress from Jira. It’s a game-changer.
How Do I Keep My Confluence from Turning into a Mess?
Preventing your Confluence from becoming a digital junkyard comes down to establishing a few simple ground rules for the team. A little governance goes a very long way.
- Be Smart About Spaces: Don't spin up a new Space for every little thing. Reserve them for distinct teams or major, long-term projects.
- Embrace Templates: Get your team to use templates for recurring documents like meeting notes or project briefs. It creates consistency and makes information much easier to find and digest.
- Build a Clear Page Tree: Always nest new pages under the right parent page. This creates a logical hierarchy that anyone can navigate intuitively.
- Archive, Don't Delete: Regularly archive pages that are no longer active. Archiving keeps them out of your daily search results but ensures they’re still available if you ever need to dig them up.
What Are Confluence Macros and Why Should I Bother?
Macros are your secret weapon for turning boring static pages into dynamic, interactive resources. Think of them as little apps you can drop onto a page to unlock new functionality.
Instead of just plain text, you could use macros to:
- Add a table of contents that updates itself automatically.
- Highlight key information in colored info panels.
- Embed a live, interactive chart from another tool.
This is how you level up your documentation. Using macros is the difference between creating a simple page and building a rich, genuinely useful resource your team will actually want to use.
Keeping your Confluence user list clean is just as vital as organizing your pages. resolution Reichert Network Solutions offers User Deactivator, an app that automatically finds and deactivates inactive users to trim your license costs. See how you can automate user management and stop paying for seats you don't use. Learn more at resolution.de/user-deactivator-overview.
