
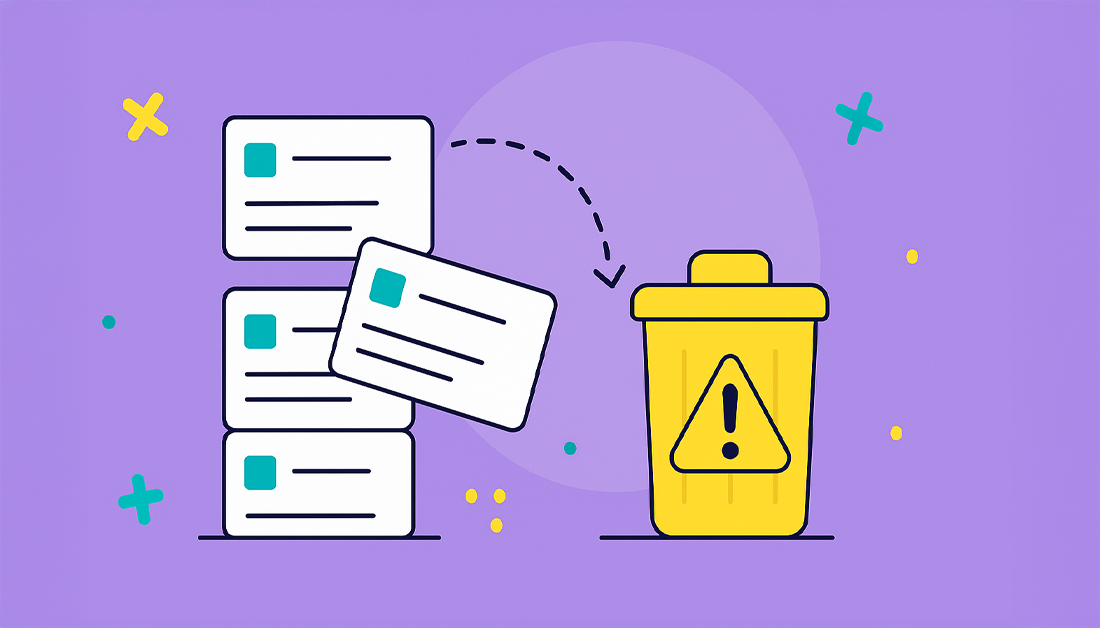
Why Subtask Deletion Is Trickier Than It Looks
Deleting a Jira subtask might seem as simple as clicking “delete.” From my experience wrangling Jira projects, I can tell you it’s rarely that easy. Subtasks are like tiny gears in your project machinery. Removing one can have ripple effects you might not expect. Think Jenga – sometimes it’s fine, other times… not so much. If you’re looking to streamline your Jira spending, check out this post on optimizing your Jira license costs.
Duplicate subtasks are a common trap. I’ve seen teams delete them thinking they’re cleaning up, only to find they’ve broken key links between tasks. Suddenly, progress tracking goes haywire and reports become unreliable. Knowing how subtasks relate to each other before you delete is key.
So, what’s the deal with deleting these little guys? In Jira, you actually need the Delete Issues permission. It’s not just for regular issues – it covers subtasks too. As of 2018 (yes, it’s been a while!), the process involves going into the issue and selecting More > Delete. This helps keep your Jira workflows neat and tidy. Want more details? This helpful resource has you covered.
Before you hit that delete button, pause and consider the impact. Sometimes, marking the subtask as ‘Done’ or moving it under a different parent issue is a smoother move. We’ll dive into those alternatives in the next section.
The Straightforward Way To Remove Subtasks
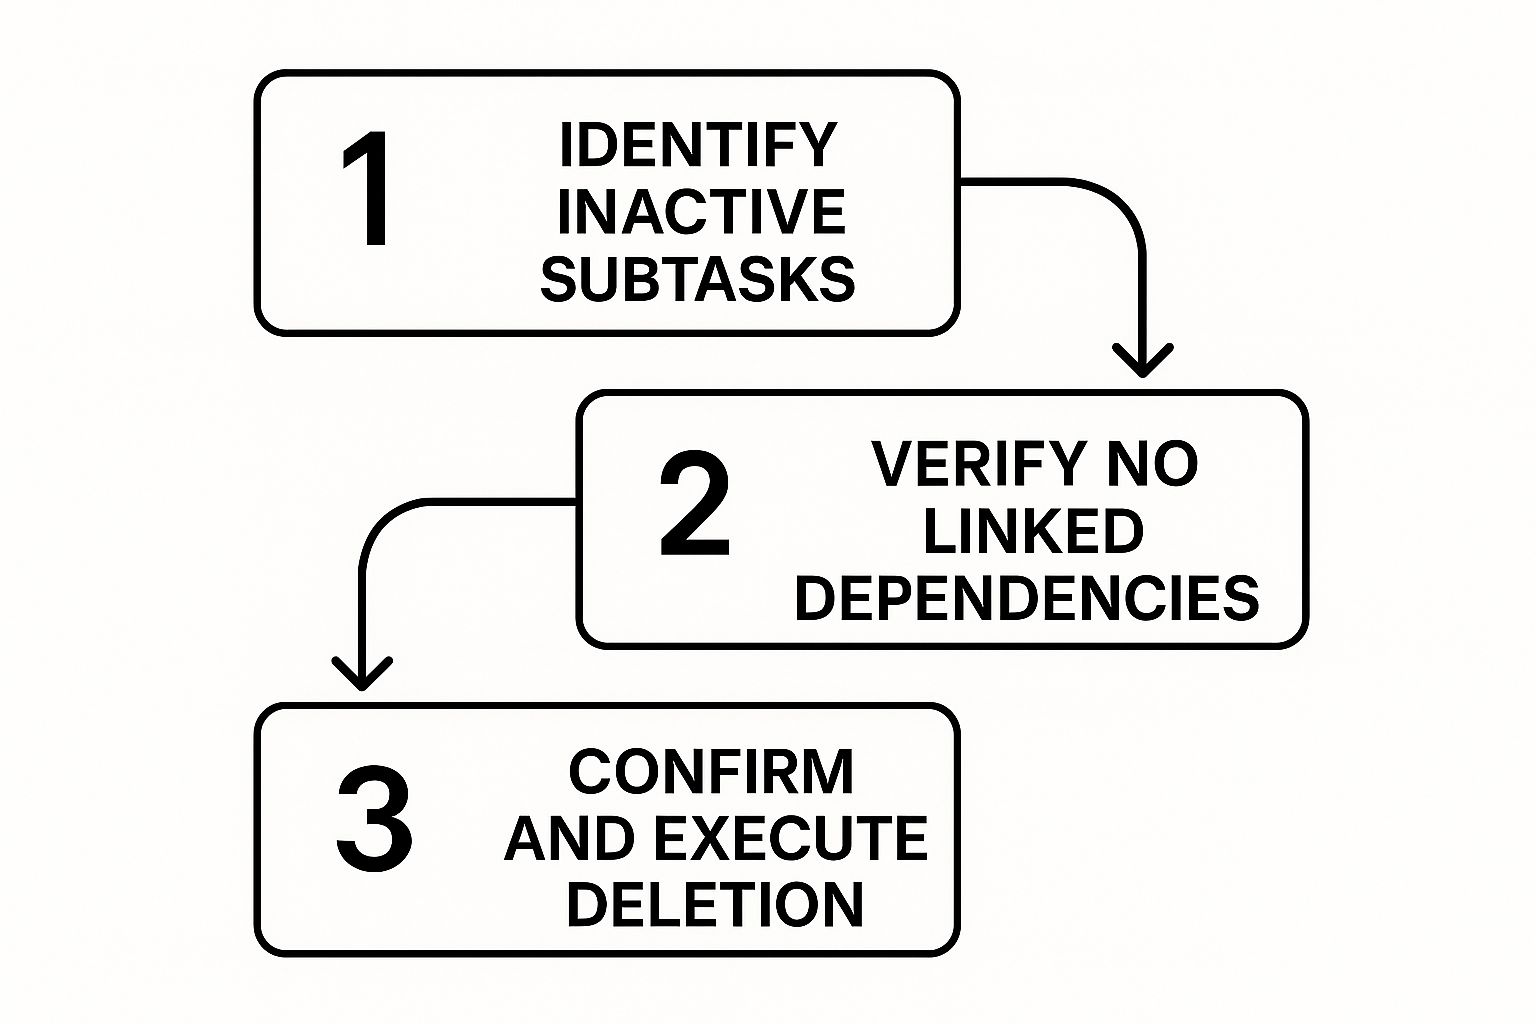
This infographic nicely visualizes how to delete a Jira subtask: find inactive subtasks, double-check for dependencies, and then hit delete. This keeps your projects clean and prevents accidental disruptions.
So, how do you actually delete a subtask? Whether you’re looking at the parent issue or working directly on the board, find the subtask you want to remove. Click the “…” (more options) menu and you’ll see the “Delete” option. Click it, and Jira will ask for confirmation (usually by re-typing the issue key). This safety net has saved me countless times from accidentally deleting the wrong thing during late-night cleanup sprints. Seriously, I can’t tell you how many times!
Keyboard Shortcut Tips
Keyboard shortcuts are your best friend, especially when cleaning up multiple subtasks. “j” and “k” keys let you quickly navigate between issues on the board or backlog. This little trick is a huge timesaver.
Troubleshooting Deletion Problems
Ever see the delete option grayed out? It usually means a permissions issue (we’ll talk more about that later). The view you’re in also matters. Deleting directly from the board is usually faster, but the parent issue view provides more context around linked tasks. Pick the approach that fits your current workflow. It’s the kind of thing that really separates the Jira ninjas from the novices.
Let’s look at the different ways you can delete those pesky subtasks. There are a few nuances to consider, and each has its strengths and weaknesses.
I’ve put together this table to summarize the key differences:
| Subtask Deletion Methods Comparison | A comparison of different approaches to deleting subtasks in Jira, showing the pros and cons of each method |
|---|---|
| Method | Time Required |
| UI Deletion (from Board) | Quick (seconds) |
| UI Deletion (from Issue View) | Slightly longer (due to navigation) |
| API Deletion | Varies depending on script complexity. |
As you can see, the UI method is great for quick deletions on the fly, while the API approach shines when automating more complex cleanup tasks. Choose the best fit for your situation!
Getting The Right Permissions To Delete Subtasks
So, you’re looking to clean up some Jira subtasks? Great! Before you dive in, let’s talk permissions. This is the kind of thing most guides gloss over, but trust me, it can save you a lot of headaches.
You absolutely need the Delete Issues permission. I know, it sounds a bit general, but this one permission covers both regular issues and those pesky subtasks. To check if you have it, head over to your project settings and take a look at the permission scheme. If you don’t see it, have a chat with your Jira admin. A quick explanation like, “I need to delete outdated subtasks to keep our project reporting accurate,” usually does the trick.
Understanding Jira Permissions
Jira uses project permission schemes to control who can do what within each project. Global permissions exist, too, but for deleting subtasks, it’s the project-level ones that matter. Every organization handles these a little differently. I’ve seen everything from small startups where everyone’s an admin to huge corporations where deleting a single subtask requires a mountain of approvals. If you find yourself needing to deactivate a user entirely, our guide on deactivating Jira users might be helpful.
Working Around Permission Limitations
What if you don’t have the Delete Issues permission? Don’t worry, there are workarounds. You can always ask a teammate with the right permissions to lend a hand. Another option is to transition your subtasks to a “Done” or “Closed” status instead of deleting them altogether. This keeps a record of everything while removing them from your active workflows. Truly understanding how Jira permissions work is key for efficiently deleting subtasks. Knowing the why behind the permission structure can even help you advocate for the access you need while keeping your projects safe and sound.
Solving Common Subtask Deletion Problems

Let’s be honest, deleting a subtask in Jira can sometimes be a real headache. From my experience managing Jira, I’ve encountered all sorts of weird scenarios. Subtasks disappearing from the board but still showing up in reports, strange permission errors, and the dreaded orphaned subtask – basically a subtask lost in the Jira void.
Even in 2023, orphaned subtasks are still an issue, especially when parent issues aren’t deleted correctly. It’s like they’re just floating around the system, causing confusion. For more info on recovering these lost souls, check out this Atlassian Community post.
So, how do you actually troubleshoot these problems? I always start with JQL queries. They’re incredibly useful for finding those problematic subtasks and figuring out what’s blocking them from being deleted. For example, you can quickly identify subtasks linked to active automation rules with a simple JQL query. Speaking of automation, here’s a helpful resource on Jira Workflow Automation. Knowing how your automation is set up is key to avoiding accidental disruptions.
Troubleshooting Workflow Restrictions
Sometimes, workflow restrictions can secretly prevent subtask deletion. Imagine you have a subtask marked “In Progress” that you’re trying to delete. Your workflow might actually require it to be moved to “Done” first. These hidden rules can be super frustrating, so getting familiar with your workflow is crucial.
Dealing With Third-Party App Conflicts
Another common culprit is third-party apps. They can sometimes mess with Jira’s core functions, including subtask deletion. If you think an app might be causing problems, try temporarily disabling it to see if that fixes the issue. It’s a quick diagnostic step that can save you a lot of time.
Navigating Automation Rules and Integrations
Subtasks connected to automation rules or external integrations need extra attention. Deleting them can break your automations or disrupt data flows. Always double-check for these connections before you delete anything. It’s a proactive approach that minimizes the risk of unexpected consequences. This systematic troubleshooting process works no matter how your Jira instance is configured. You’ll be deleting those subtasks like a pro in no time!
Advanced Subtask Management For Power Users
So, you’re ready to go beyond just clicking the delete button? Good. Let me share how I deal with tricky subtask deletions and bulk jira delete subtask operations. The REST API in Jira is a real lifesaver, especially when you need to remove hundreds of subtasks based on specific criteria. It’s also great for automating cleanup within your team’s workflows. I’ll get into the important API endpoints, authentication setup, and how to handle errors (so you don’t accidentally delete the wrong things!). Speaking of planning, you might find this helpful: Check out our guide on Jira capacity planning.
Automating Subtask Cleanup
Jira’s built-in automation is a game-changer too. Think of it as preventative maintenance for your Jira projects. By setting up rules to prevent subtask overload from the start, you minimize manual cleanup later on. This keeps everything running smoothly and frees you up to focus on more important work – not tedious cleanup tasks.
Mastering JQL For Subtask Deletion
JQL (Jira Query Language) is incredibly useful for pinpointing subtasks that need deleting. You can find them based on their age, status, or any other important details. Sometimes, you’ll encounter deletion scenarios that impact other areas, like marketing email bounces. When that happens, understanding those implications is key. For a deeper dive into this topic, check out this article: What Is A Bounce In Email Marketing. Managing subtask issue types on the Sub-tasks page is part of regular project administration. And here’s a fun fact: as of 2023, you can enable or disable subtasks globally (but only if no subtasks currently exist). Learn more about managing subtasks in Jira. These power-user techniques help you build efficient and sustainable processes, keeping your Jira projects clean without constant manual intervention.
Smart Practices That Prevent Deletion Disasters
Let’s talk Jira subtask deletion disasters. We’ve all been there, right? That sinking feeling when you realize something’s gone missing. In my experience, thinking ahead is the real game-changer. It’s way easier to prevent a problem than to fix it later. Before hitting that delete button, make sure everyone’s in the loop. Tell stakeholders, leave a comment in the subtask explaining why you’re deleting it, and create a clear audit trail. This not only helps with compliance but also keeps everyone informed. Proper subtask management plays a crucial role in keeping developers productive; learn more by reading Improve Developer Productivity.
Backups are essential. I can’t stress this enough. Depending on your project, exporting your subtask data before deletion is a lifesaver. Thankfully, Jira also has some excellent built-in safety features. Explore these before you’re in a panic. On a related note, you might find this helpful: integrating HubSpot with Jira. Sometimes, though, deleting isn’t the answer. Consider “soft deleting” by using custom workflow transitions. Or, move subtasks to an archive project for safekeeping – kind of like a digital filing cabinet.
Pre-Deletion Checklist
Before you delete those subtasks, take a look at this checklist. It covers some essential points to check to avoid common pitfalls and ensure your project stays on track.
Before diving in, I recommend double-checking a few crucial items. This proactive approach can prevent headaches and maintain your project’s integrity. The table below outlines essential checks, their importance, verification methods, and associated risk levels.
| Check Item | Why It Matters | How To Verify | Risk Level |
|---|---|---|---|
| Stakeholder Communication | Ensures everyone affected is aware of the deletion and its rationale | Check communication logs, Jira comments, and meeting notes | High |
| Documentation | Provides a clear record of the deletion reason and associated information | Review subtask comments and related documentation | Medium |
| Backups | Safeguards against accidental permanent data loss | Confirm recent backups exist and are accessible | High |
| Alternative Solutions | Explores options like “soft deleting” or archiving instead of permanent deletion | Review project workflows and available archive locations | Low |
| Team Training | Equips team members with the knowledge to handle subtask deletions responsibly | Verify training completion records and conduct refresher sessions | Medium |
This quick checklist can really save you from future problems. By verifying these points, you can proceed with subtask deletion confidently, knowing you’ve taken the necessary precautions to protect your project data and maintain team alignment.
Finally, establish clear guidelines within your team. Consistent naming conventions keep things organized and prevent confusion. Approval processes add an extra layer of control, but they shouldn’t slow you down. And, arguably the most important point: team training is the best way to prevent deletion disasters from happening in the first place. These practices don’t just help avoid mistakes; they build a culture of responsibility around subtask management.
Streamline your team’s Jira experience, especially during absences, with resolution’s Out of Office Assistant for Jira Cloud. This tool automates handovers and keeps projects moving forward, even when team members are out.
