
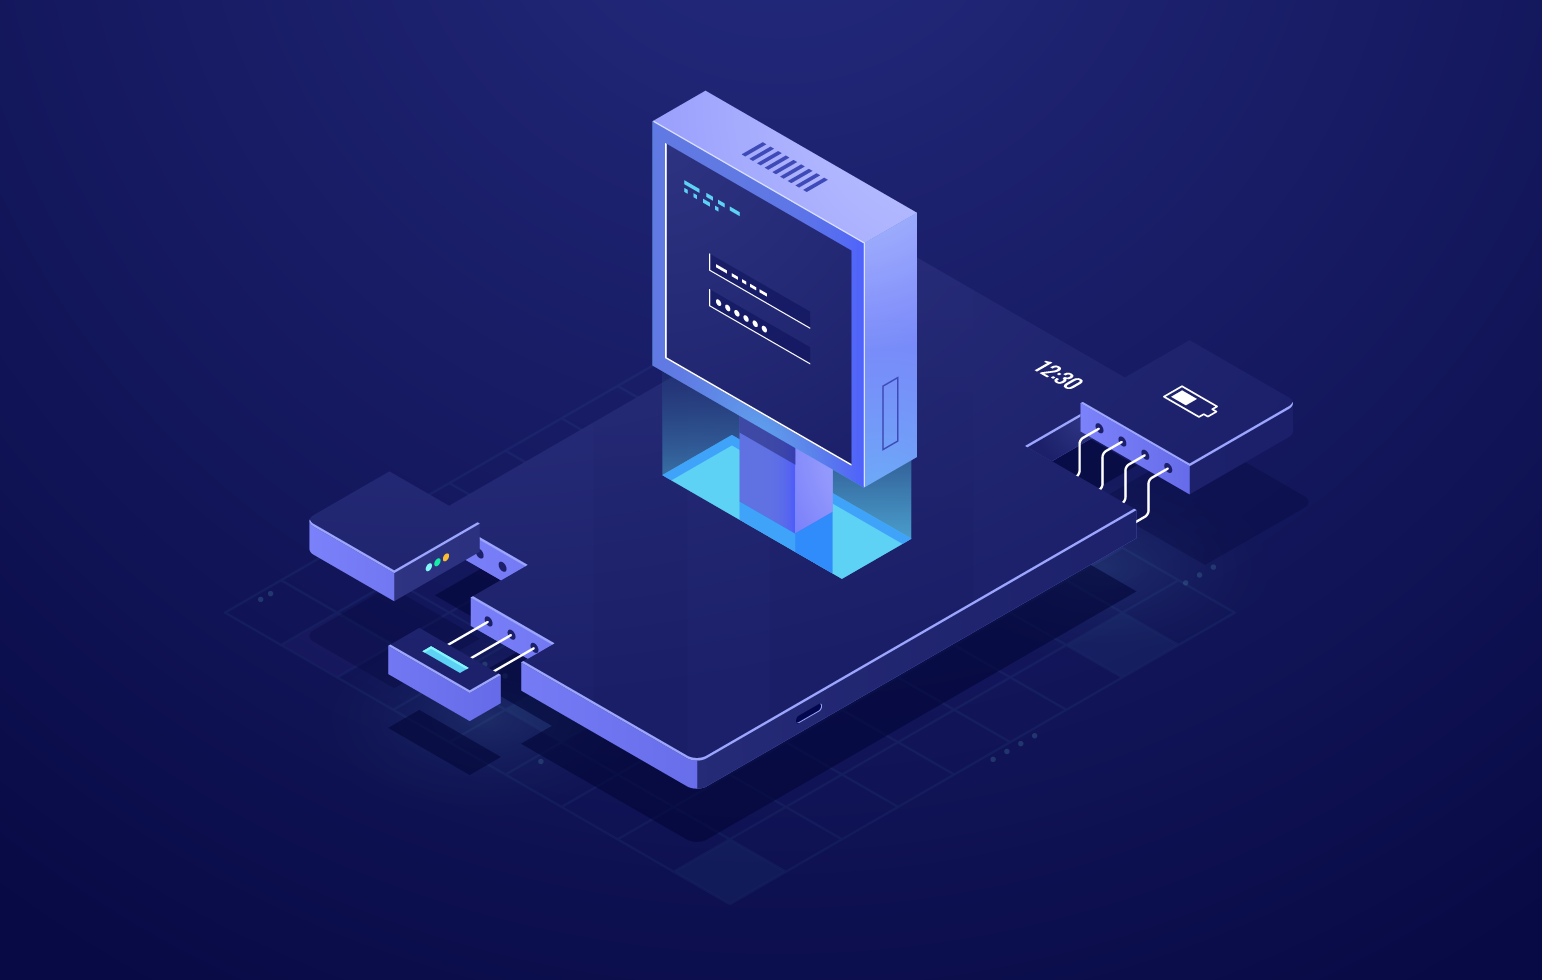
Access Hygiene for your Jira REST API
Have you ever had performance problems with Jira only to find out that there were a gazillion scripts running in the background? Are you concerned that some non-technical users seem to forget about the quick no-code automations they did with Zapier or Flow just some months ago? Do you think that people at your company should ask for approval before creating a new integration, no matter how small?
If you answered yes to any of the above, the odds are that your company is overutilizing the Jira REST API.
The Jira REST API is a great resource, but it comes with a great responsibility. Unfortunately, Atlassian provides no control whatsoever over which users can access the API, what third parties the API is used for, and what kind of information is being sent or modified.
The simplest way to gain control of the API is to create API tokens, also called API keys or personal access tokens. Personal access tokens give administrators like you you the ability to define permissions and scoping for each connection. Connecting to the API no longer a “take it or leave it”: you could for example allow developers to create scripts that modify the database and let business users only create notifications on their applications of choice.

Here’s a quick guide on how you can create API tokens (also called API keys or personal access tokens) to replace user credentials using resolution’s API Token Authentication. Note that the app is available for Jira and Confluence for both Server and Data Center customers.
Have a look at the User Guide to see all the existing features or try the product on your own.
Step 1: Access the API Token Authentication menu in Jira
After installation, the API Token Authentication menu will be accessible from the Jira user profile menu.

Step 2: Create the token
Once you navigate there, click the button to generate a new API Token.

As an end user, you can create an API Token for yourself. You will only have to name it and give it an expiration date.

Step 3: Define permissions and scopes
App Administrators can define permissions based on groups for who can:
- use tokens
- create tokens
- create tokens on behalf of others

Around Q3 2020 it will also be possible to define scopes:
- Read-only tokens, not usable to change anything in the Jira database
- Tokens limited to the IP address of a specific third party (as to our example, Zapier)
Step 4 (optional): Disable API access with personal credentials

What’s the point in exposing credentials when there’s a robust way to let your users do the same job without risking anything?
You will find the option of disabling local passwords for REST endpoints in the System-wide Settings of the app administration menu.
Step 5: Manage and monitor tokens

Based on the configuration of permissions and scopes, API Token management tab allows to:
- View and filter existing tokens
- Check token activity
- Create tokens with advanced configurations
- Delete (in technical jargon, revoke) existing tokens
Conclusion
When it comes to creating scripts or automations, personal access tokens are the most common method to authenticate to the REST APIs of Jira and Confluence securely. They’re also the simplest way to regain control over access to the data you store in Jira and how it’s used.
Have a go for free and install the app from the Atlassian Marketplace! It’s available for:
- Jira Server & Jira Data Center
- Confluence Server & Confluence Data Center
- Bitbucket Server & Bitbucket Data Center.
Take a bold move to secure your Atlassian APIs!
